
During one of our recent projects, we were tasked with creating an app that can change its implementation depending upon the type of the app that the client wants to export. There are many reasons why someone may want to follow this setup; like using the same codebase for minor differences in the apps or any iOS developer to be able to keep his development and production environments separate etc. Our client had the same requirement but he needed the application in 4 different variants which made the situation all the more interesting. This is usually done by creating multiple Xcode targets in the Xcode. A target is an end product of the “build” command in the Xcode. In this tutorial, we are going to create iOS Multiple Xcode targets with Cocoapods albeit with 2 types using Xcode 10 and Swift 4.2.
These two types of apps will use a single view application containing a UITableView. We’re going to load different ULRs based on the project type and load the appropriate content. The API that we are going to use is a project called: JSONPlaceholder by taking the Photos and Users end points.
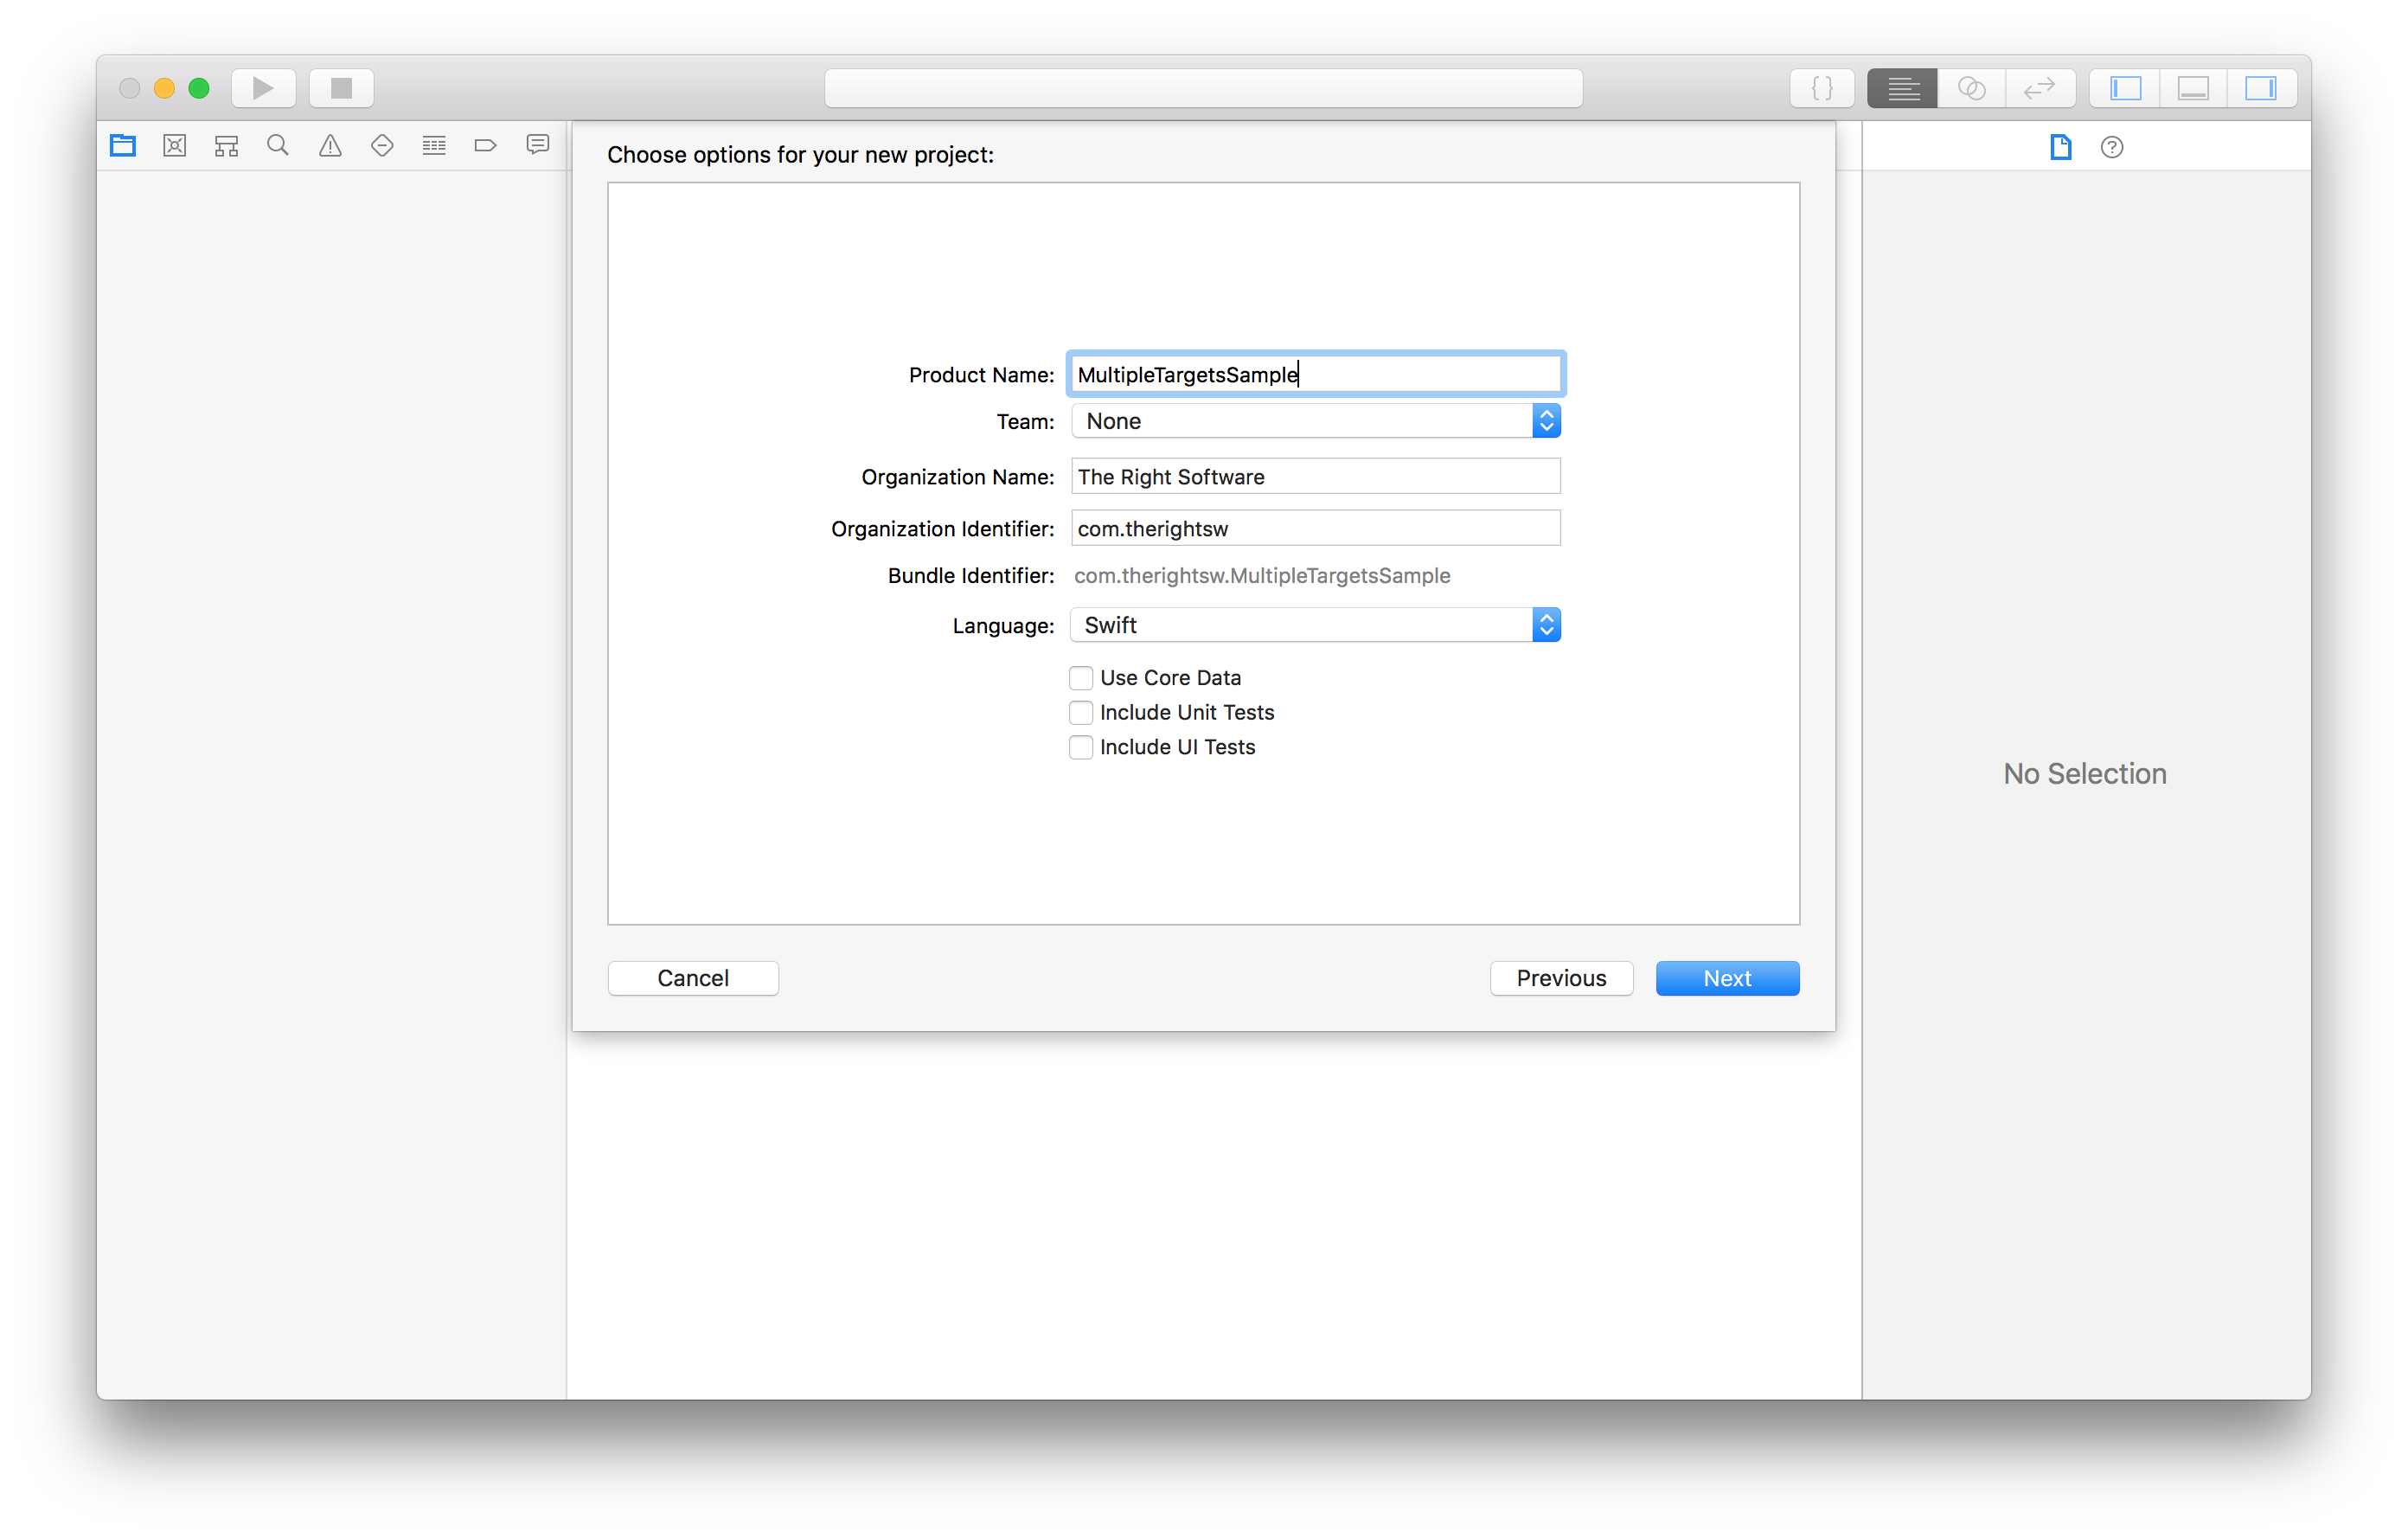
Let’s start with creating a new project: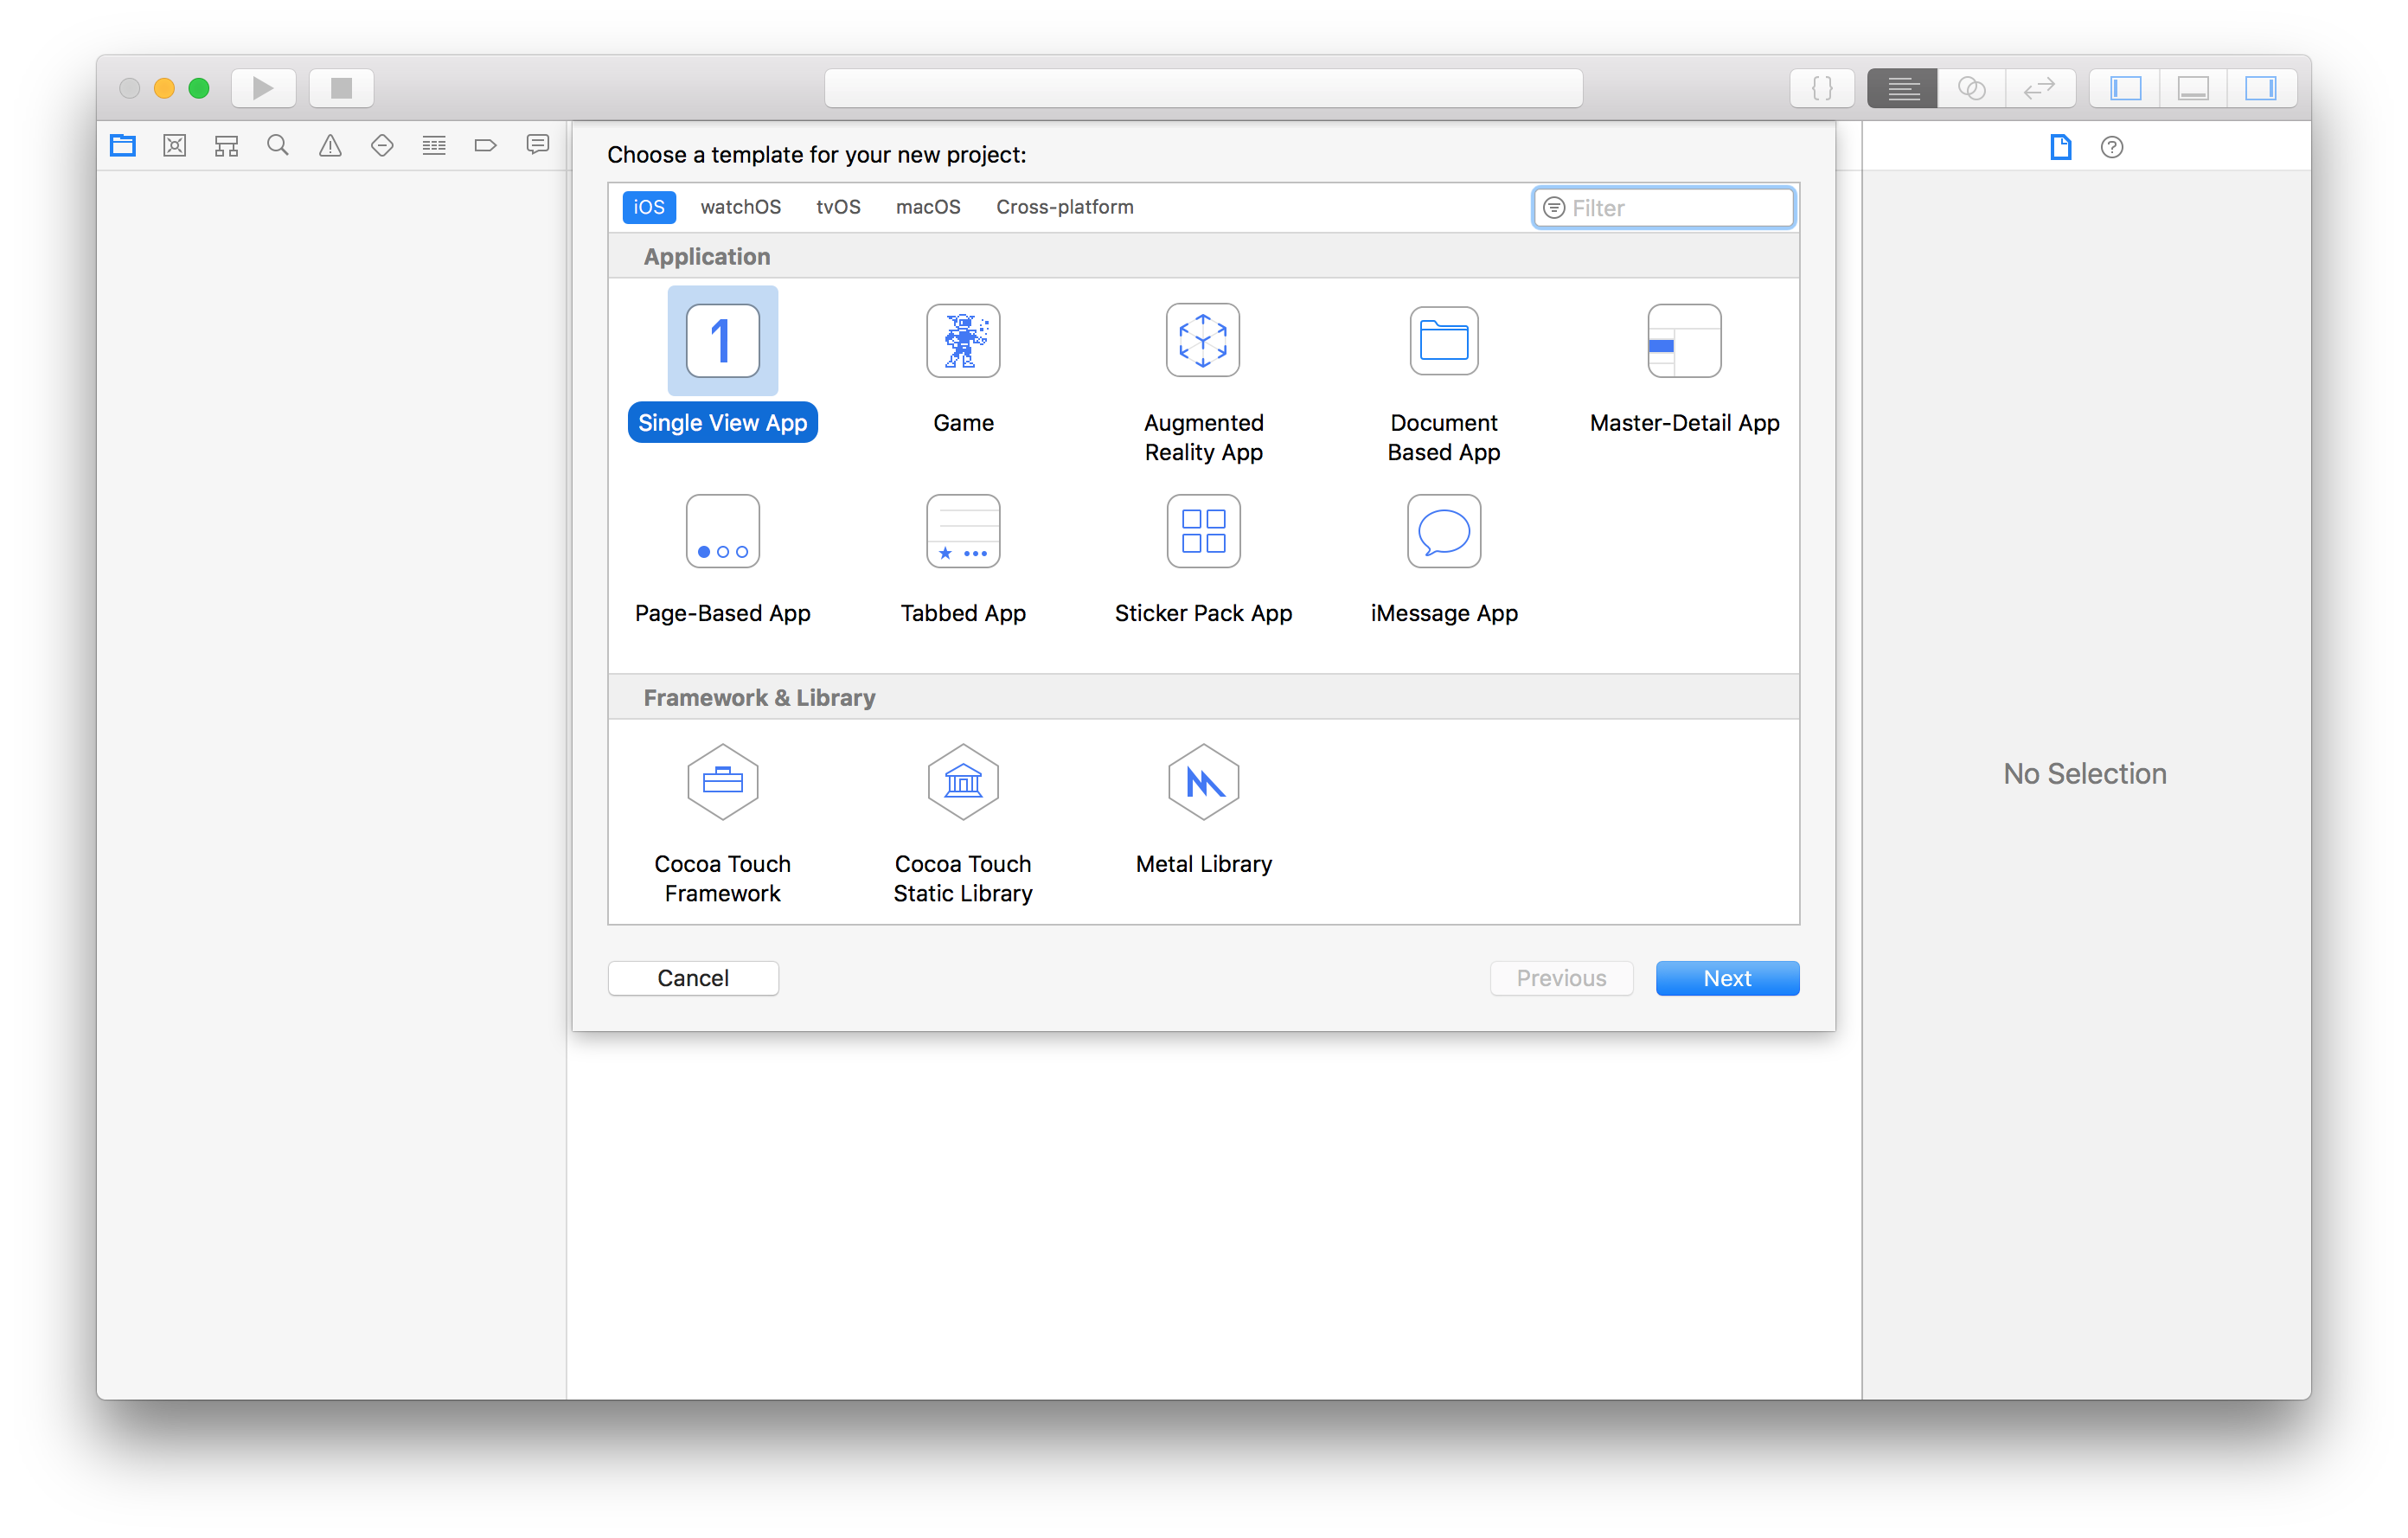
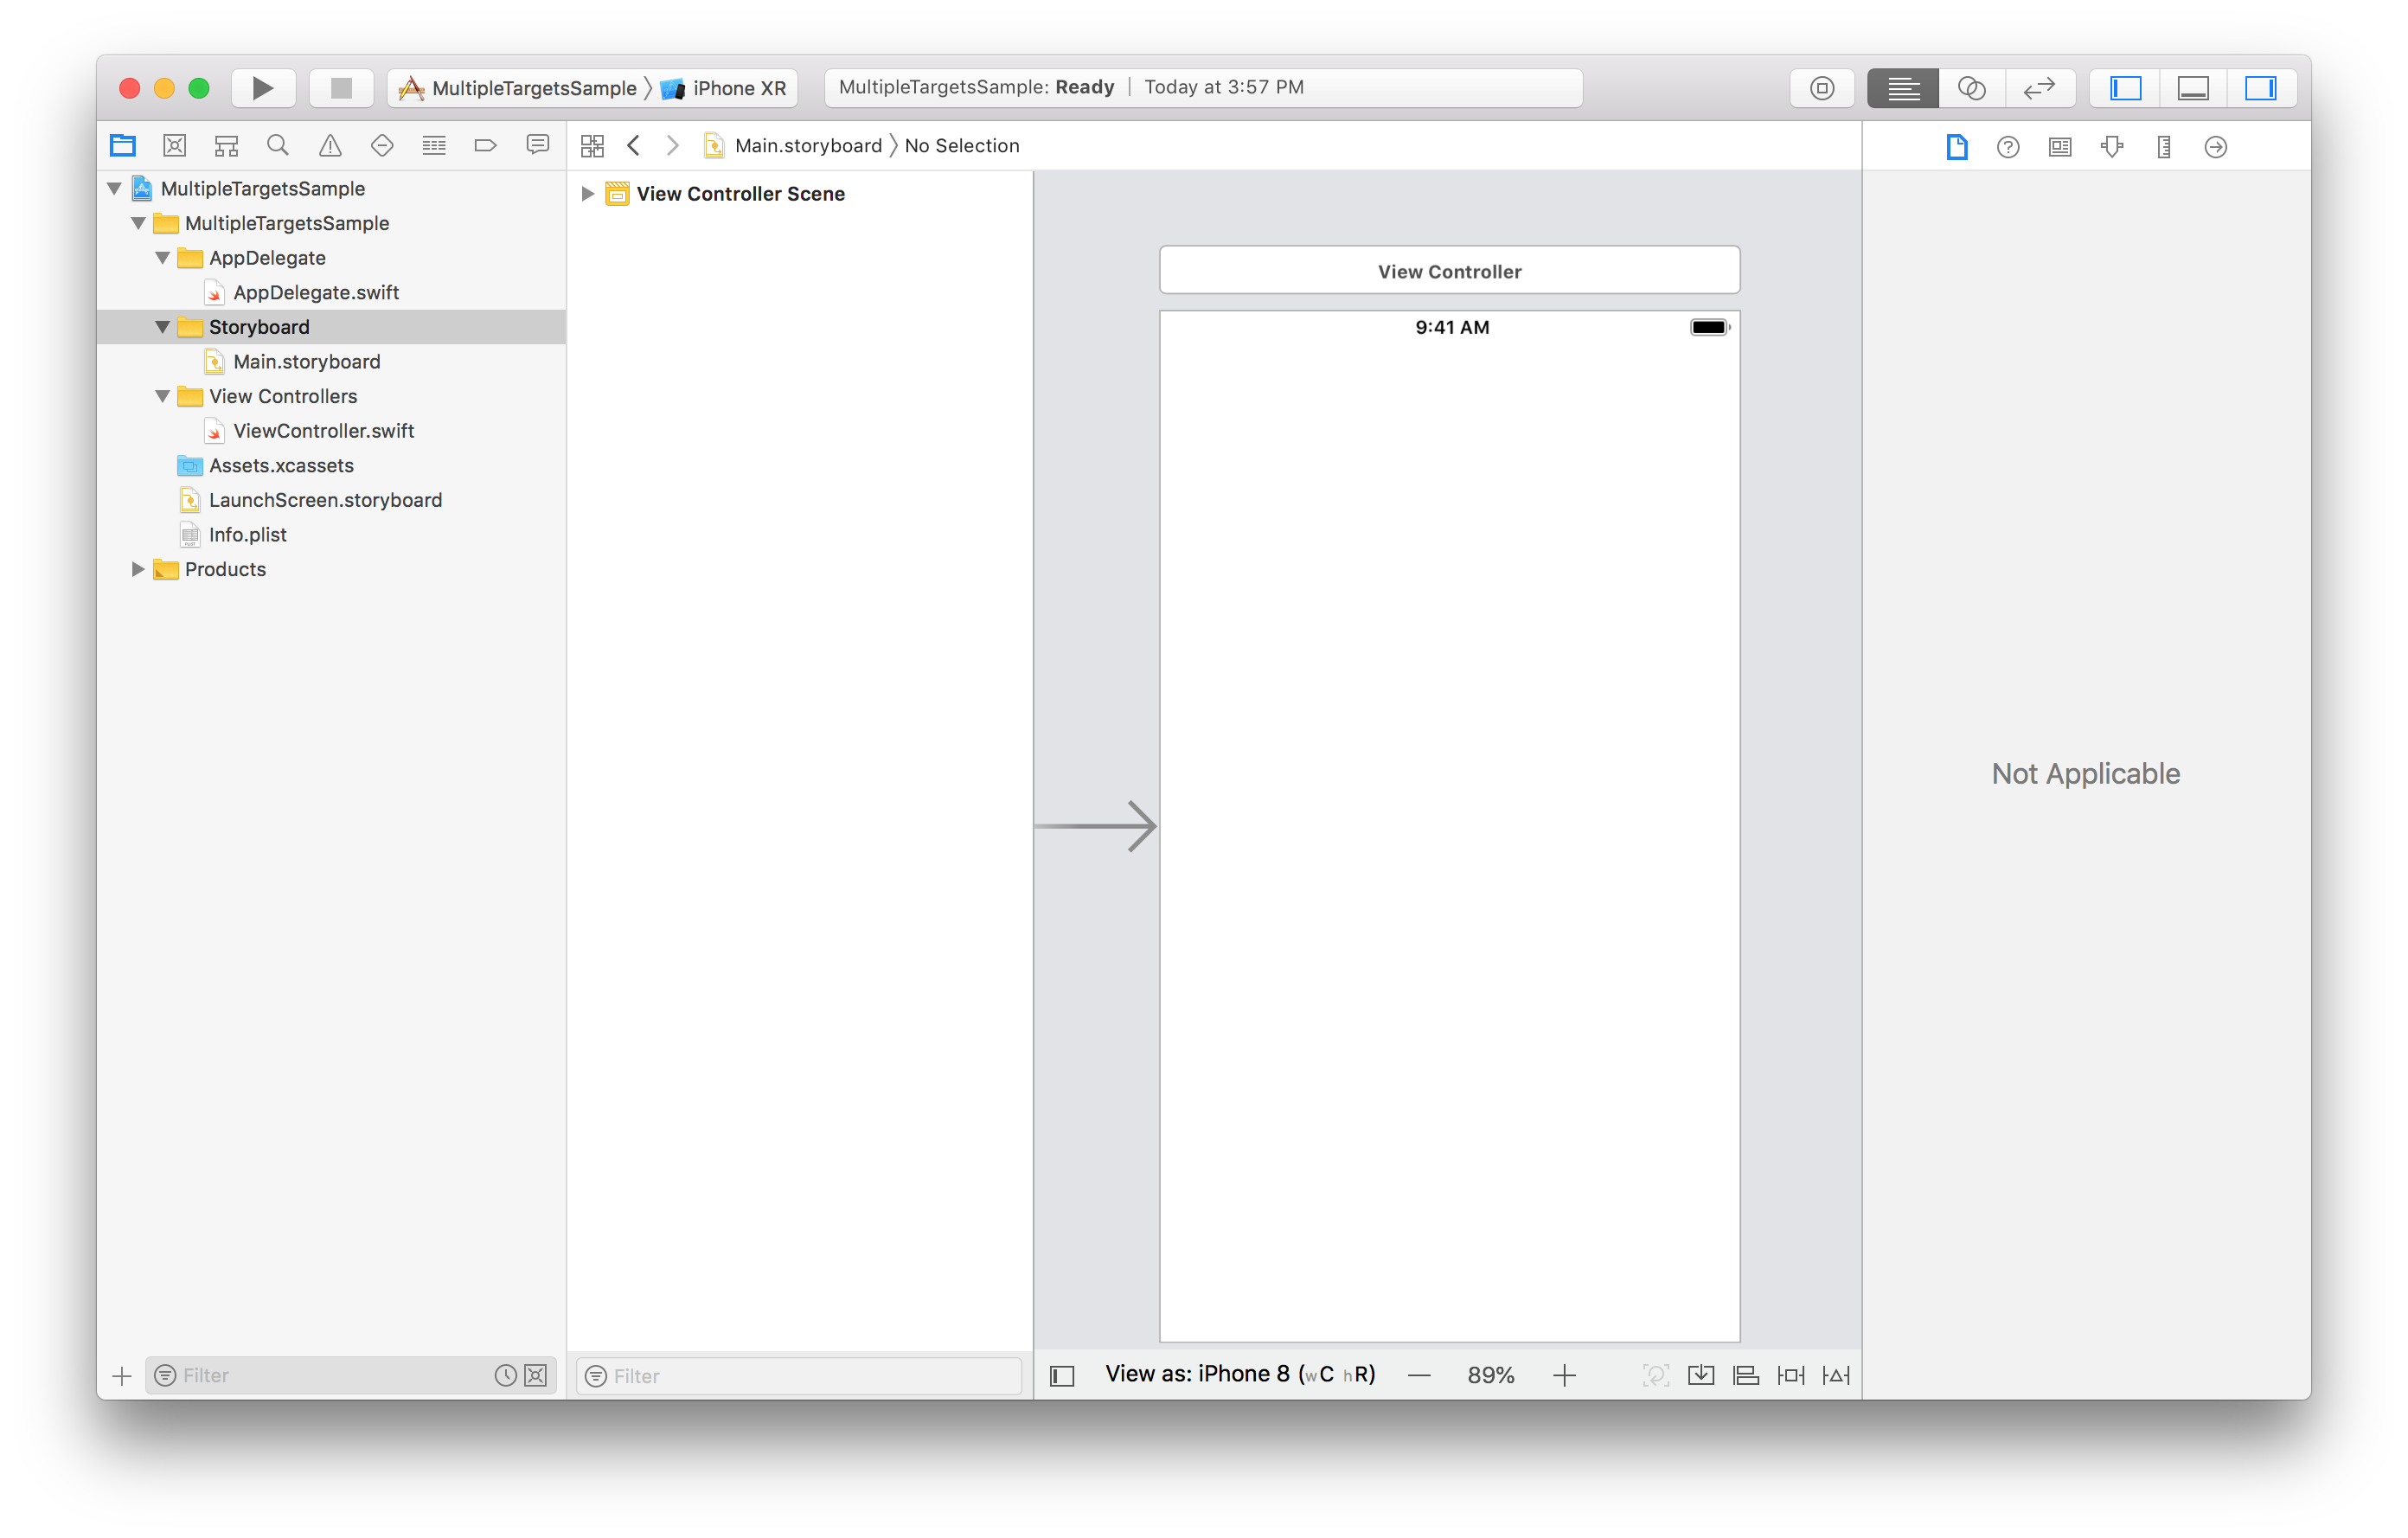 We have our shell project. Let’s dive in by creating a table view with two cells for photos and the users. On a sidenote, we are not going to go into details about how to add cells and elements in there; I am assuming that you already know this. Anyway, coming back to the app, add a UITableview to the view controller and a couple of cells for both photos and users. So, this is our current state at this point:
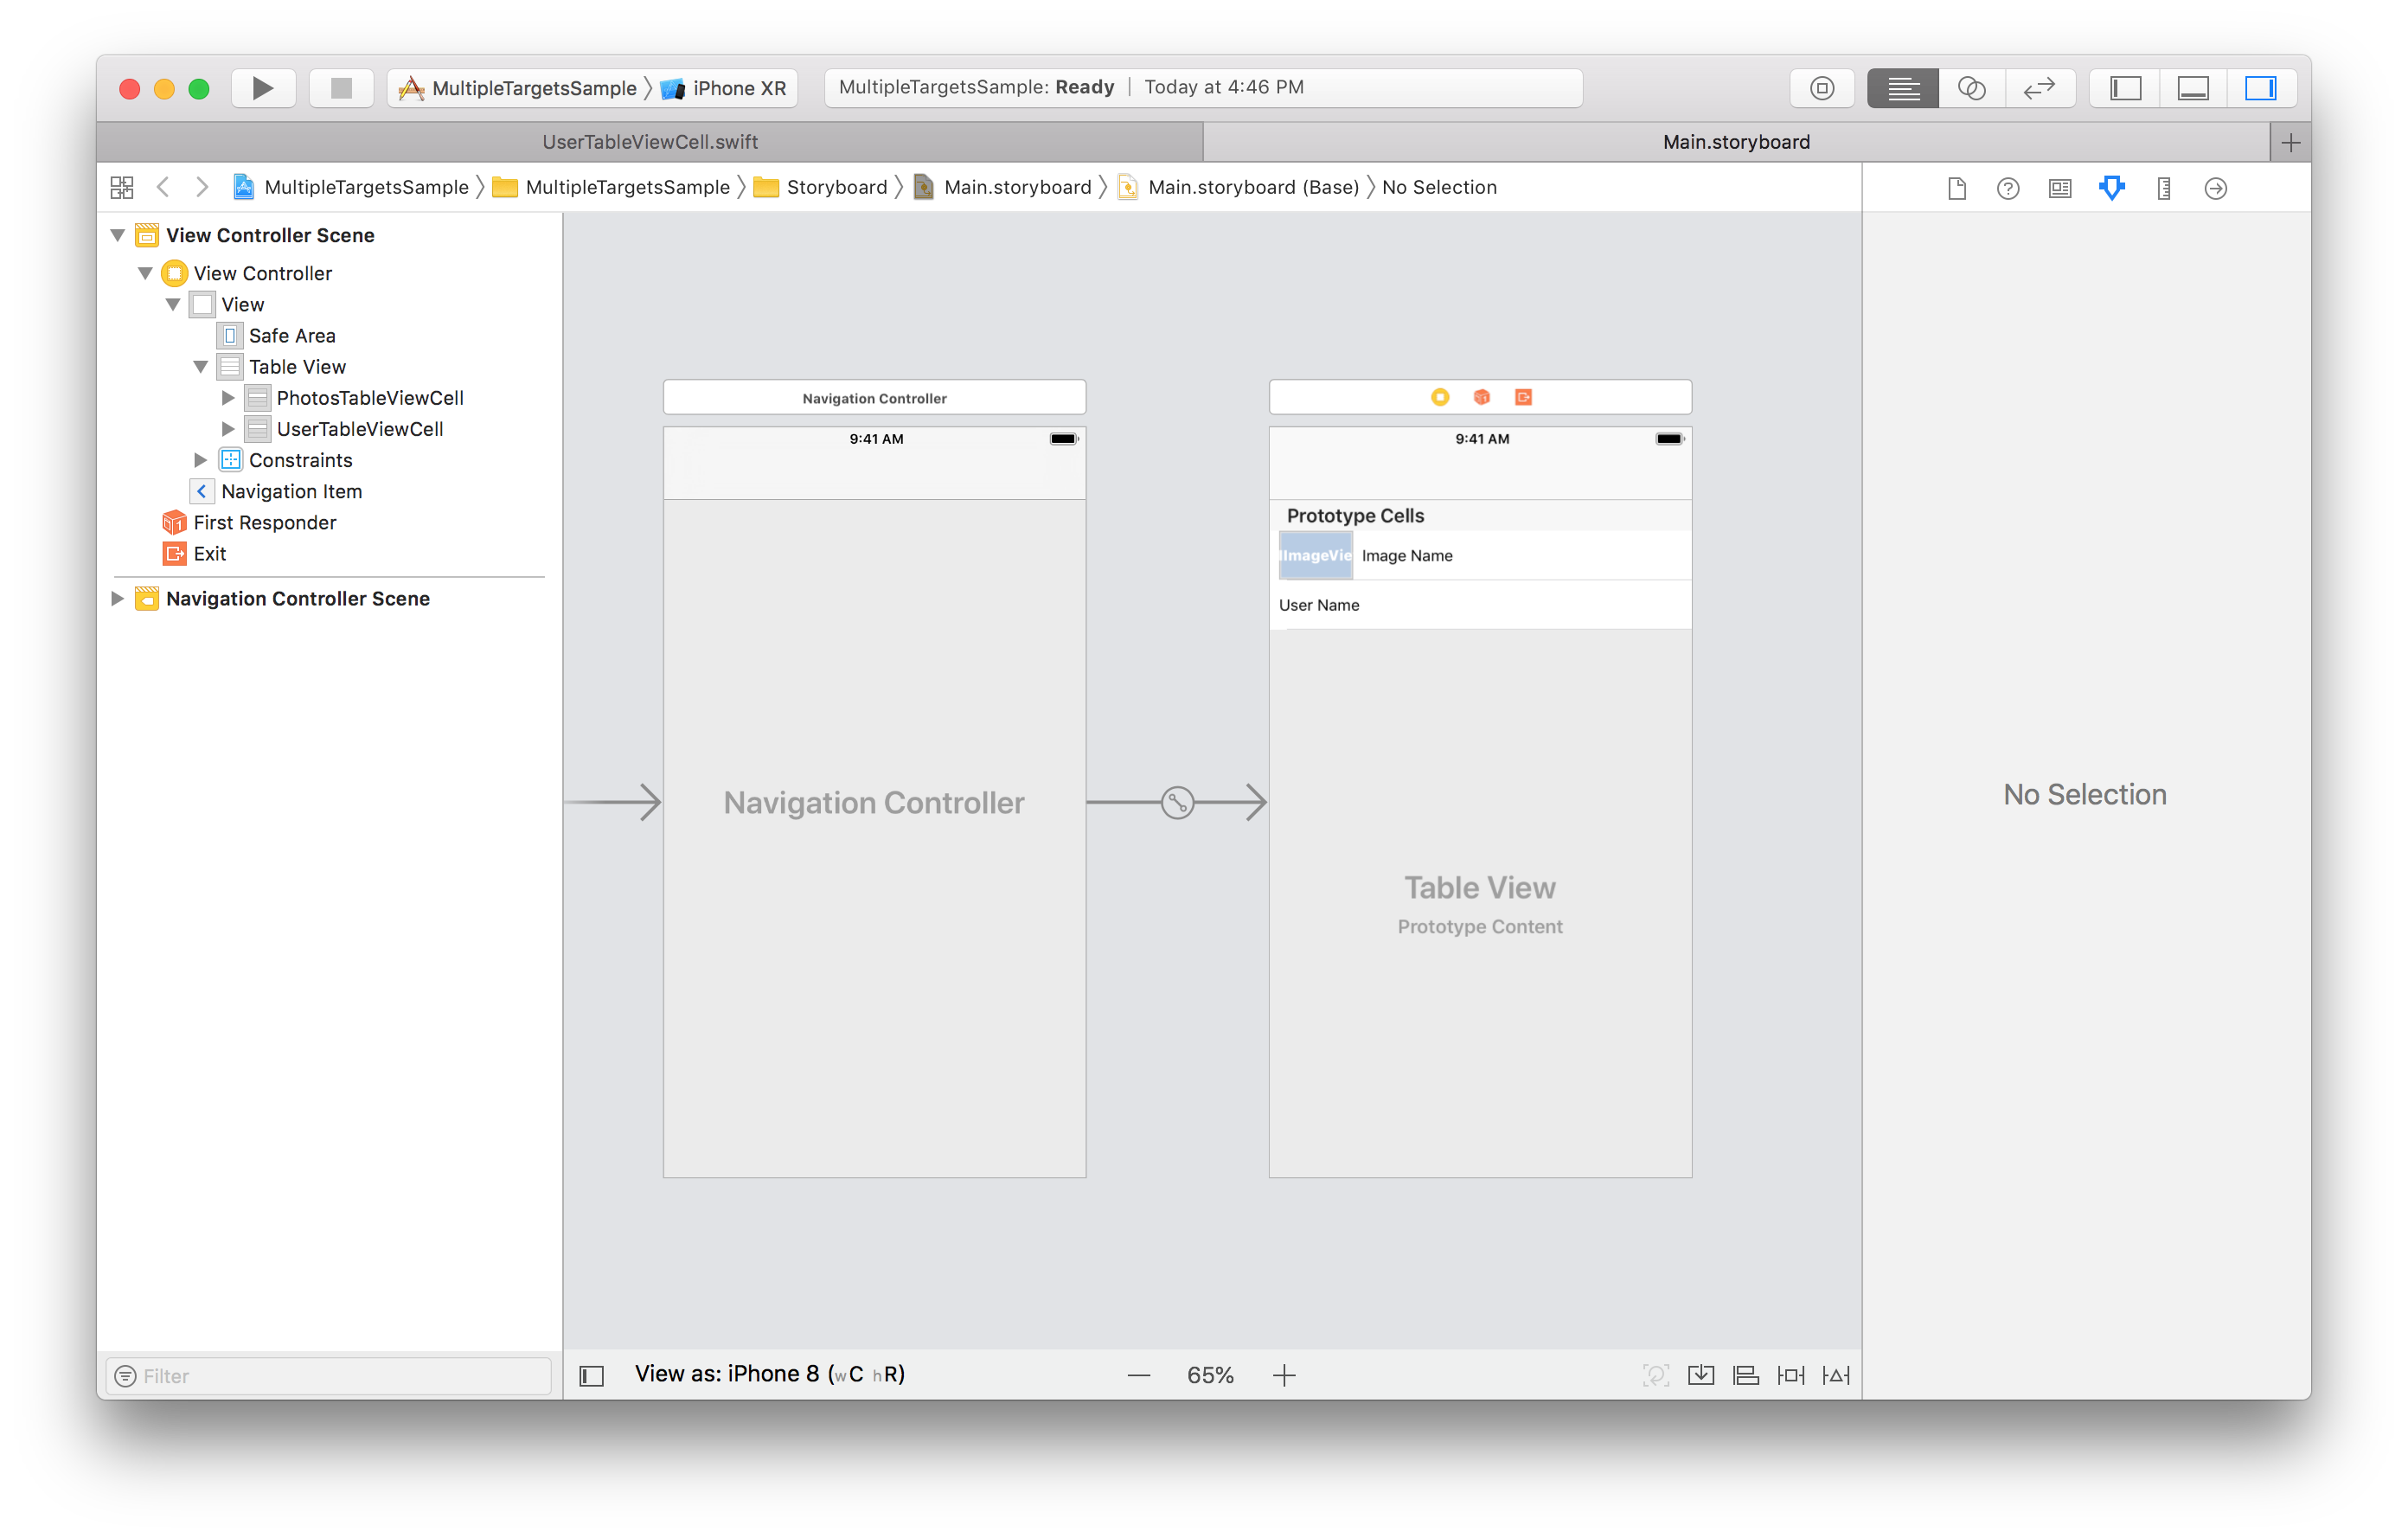 Next step is the load the API. Let’s start by creating a model for the photos and then an extension to the view controller to fetch and load the content. In the start, the method will only load the photos but once it’s set up properly, we’ll go for the users as well. Since I am only loading the image and its name, I am only going to parse these two objects. Here is how the photos model will look like:
struct Photo {
let photoTitle: String!
let photoUrl: String!
}
Now, creating the method to fetch the contents:
fileprivatefunc loadScreenContent() {
        let urlString = "https://jsonplaceholder.typicode.com/photos"
        iflet url = URL(string: urlString) {

            let request = URLRequest(url: url)
            let session = URLSession.shared
            let task = session.dataTask(with: request) { (data, urlResponse, error) in

                if (error != nil) {
                    //we got error from service
                    //handle error here

                } else {

                    //No error
                    iflet jsonString = String(data: data!, encoding:String.Encoding.utf8) {
                        self.photos = self.getPhotosFromJsonString(jsonString: jsonString)
                        DispatchQueue.main.async {
                            self.tableView.reloadData()
                        }
                    }
                }
            }
            task.resume()
        }
    }
And the parser helper method:
fileprivatefunc getPhotosFromJsonString(jsonString: String) -> [Photo] {
        var photosToReturn = [Photo]()

        do {
            let photosArray = tryJSONSerialization.jsonObject(with: jsonString.data(using: String.Encoding(rawValue: String.Encoding.utf8.rawValue))!, options: .allowFragments) as! [[String:Any]]

            for photoDictionay in photosArray {

                var title = ""
                iflet currentPhotoTitle = photoDictionay["title"] as? String {
                    title = currentPhotoTitle
                }

                var thumbnailUrl = ""
                iflet currentPhotoImageUrl = photoDictionay["thumbnailUrl"] as? String {
                    thumbnailUrl = currentPhotoImageUrl
                }

                let photo = Photo(photoTitle: title, photoUrl: thumbnailUrl)
                photosToReturn.append(photo)
            }
        } catch  {

            //an exception has occured
        }

        return photosToReturn
    }
The next step for us is to show these photos in the UITableViewCell. In order to show the image, we are going to integrate an image cache library named Kingfisher to help us with the process. We are going to do it using a CocoaPods. Again in this tutorial, we are not going to cover what is CocoaPods, if you don’t know about it, you can go to this website and check it out but for this tutorial’s sake, it’s being assumed that you know about it already.
Let’s start by introducing CocoaPods to this project. In order to do so, open the terminal and go to the project folder and run this command:$ pod init
This will create a pod file for you to update. Let’s update the pod file:$ open.
To open the folder containing the pod file. After opening the pod file, past the following line:pod 'Kingfisher', '~> 4.0'Going back to terminal, install the pod: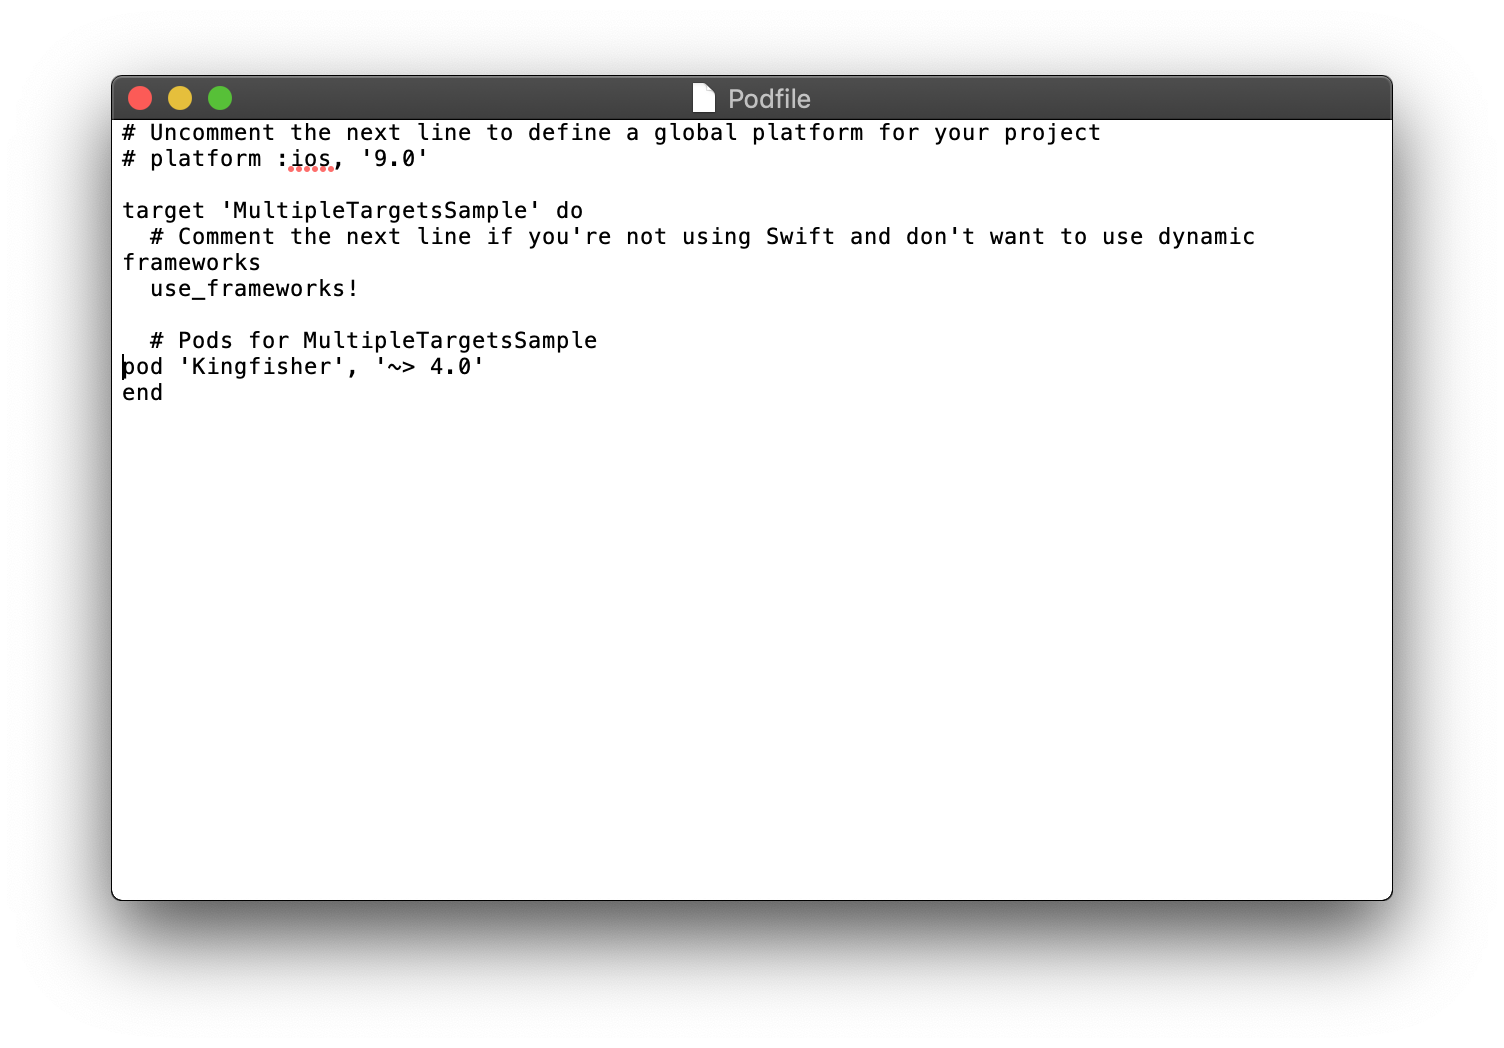
$ pod installNow that the pod has been installed, let’s go back to Finder and open the MultipleTargetsSample.xcworkspace to reload the project. Now, the project should look something like this: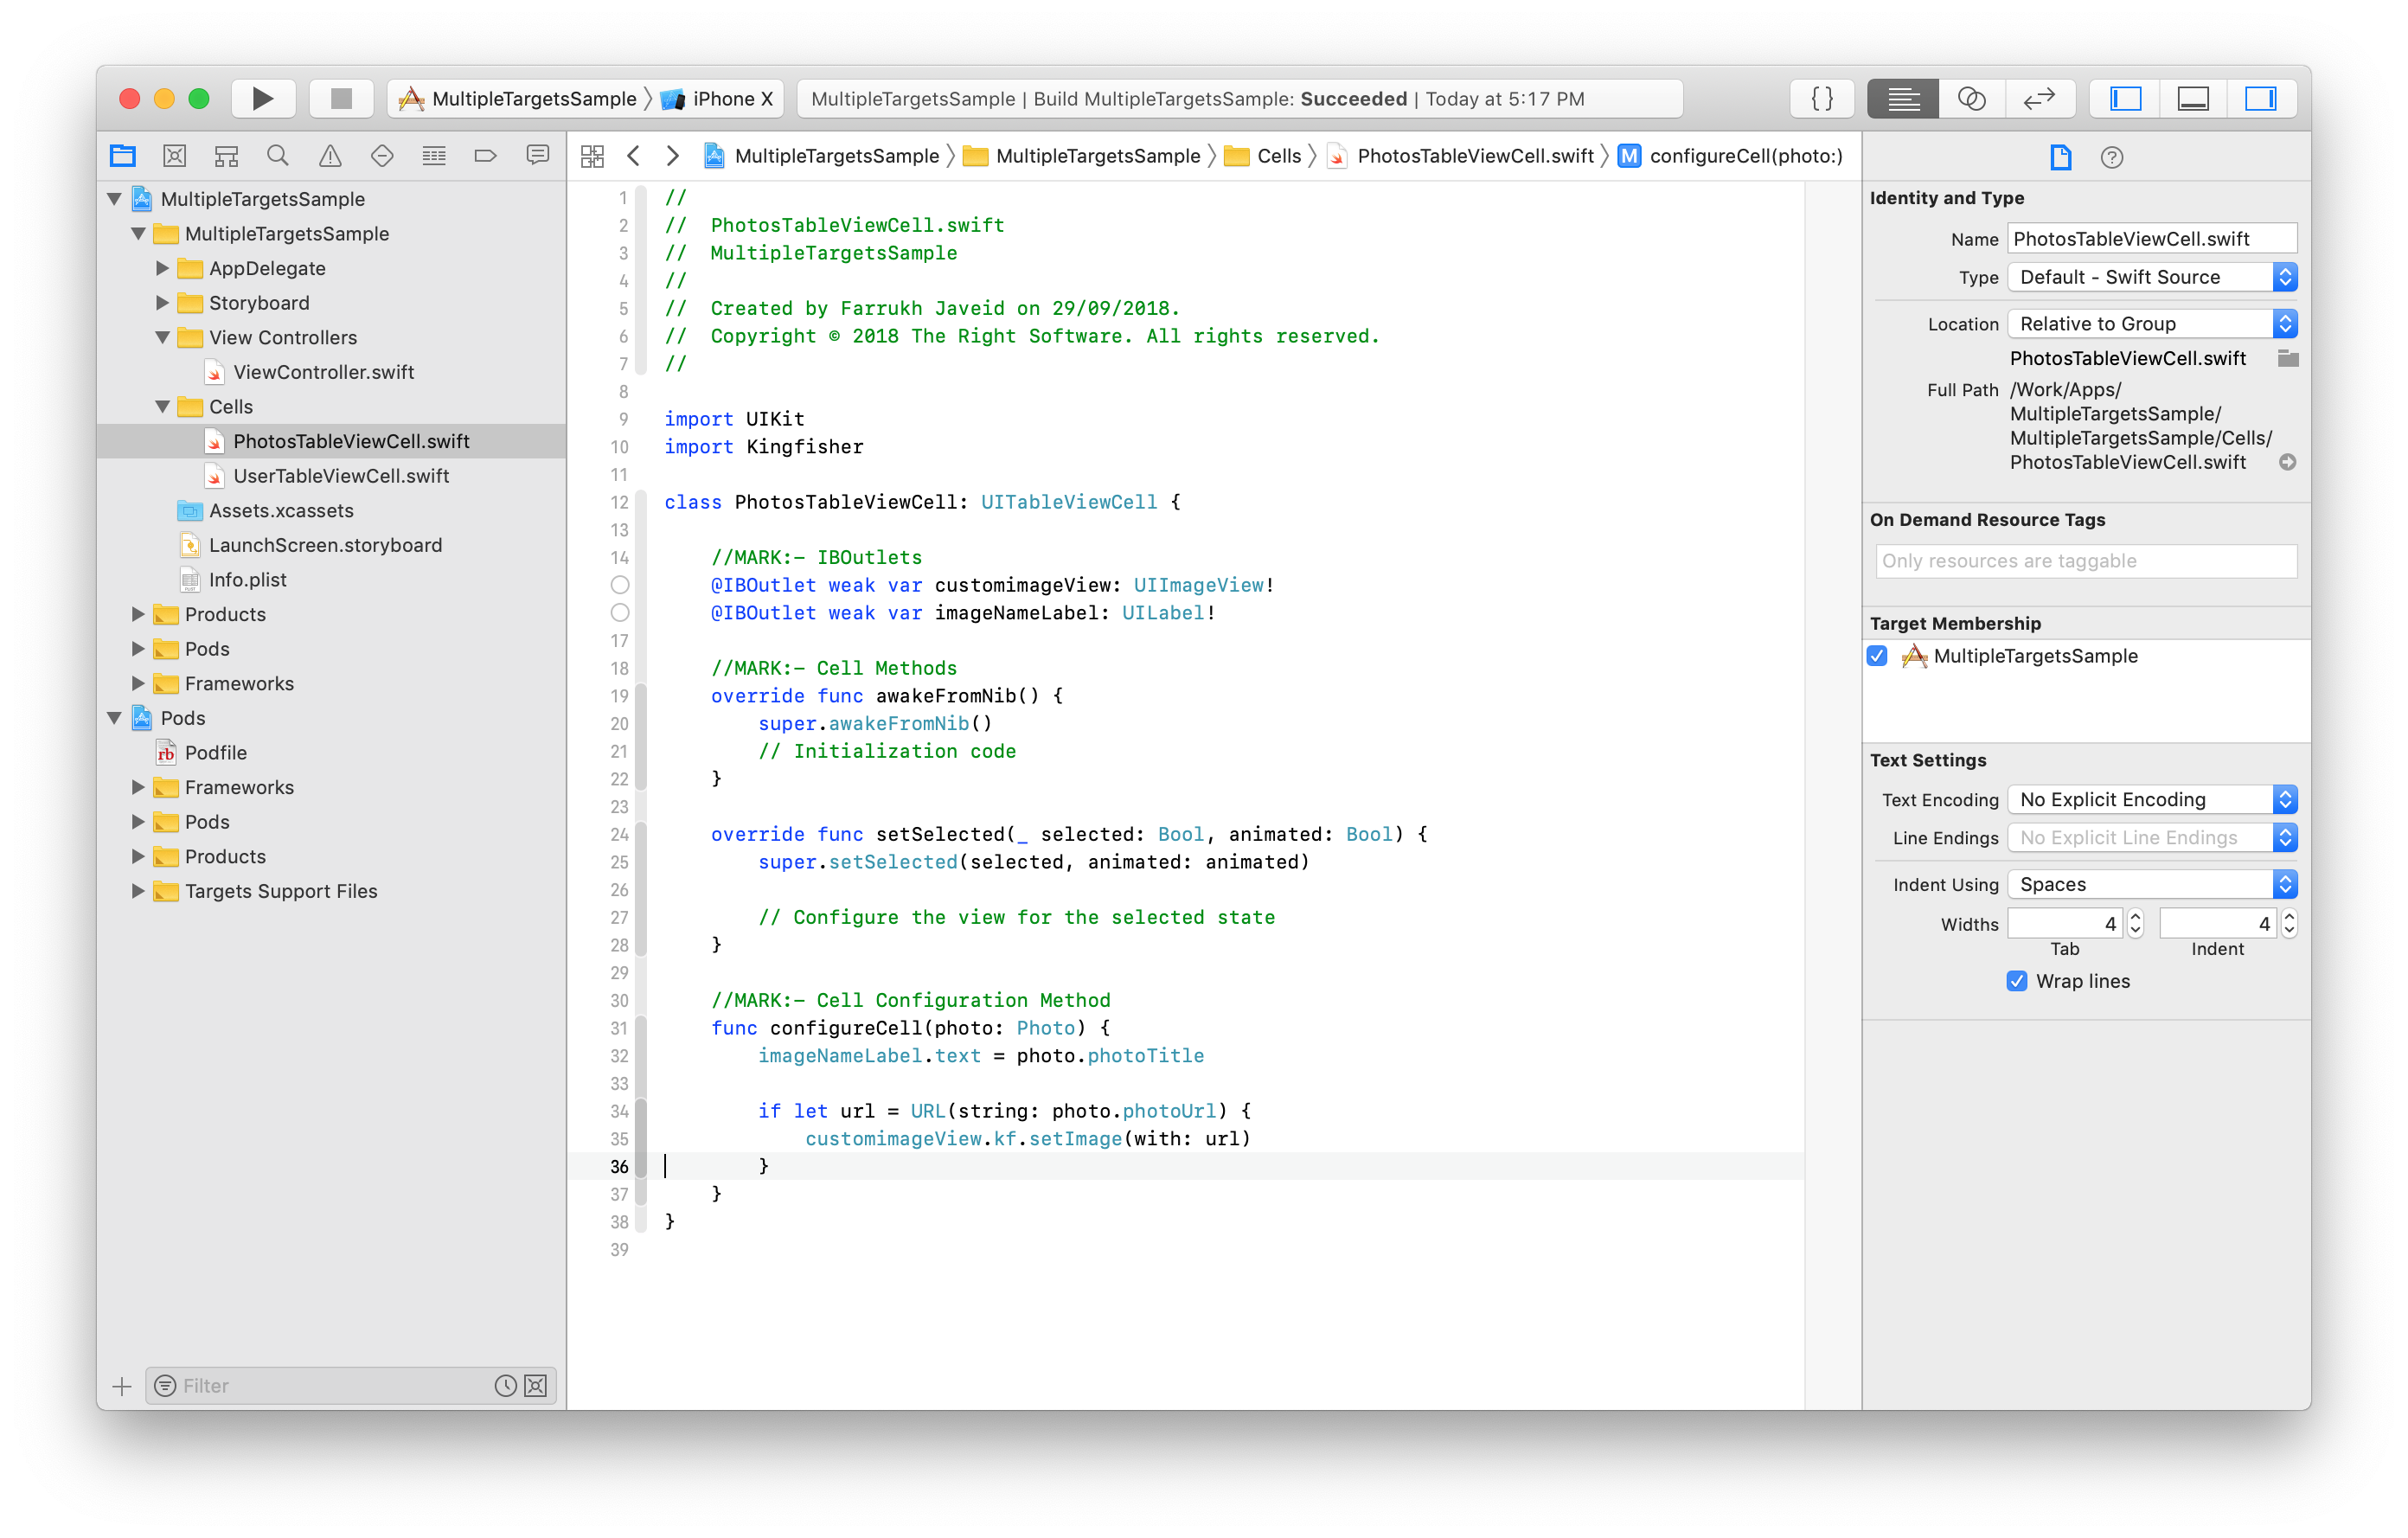 Setting up the cell to update the contents:
func configureCell(photo: Photo) {
        imageNameLabel.text = photo.photoTitle

        iflet url = URL(string: photo.photoUrl) {
            customimageView.kf.setImage(with: url)
        }
    }
Now everything has been set up, the last thing that we need to do is to load the UITableView. Putting in the UITableViewDataSource:
func tableView(_ tableView: UITableView, numberOfRowsInSection section: Int) -> Int {
        returnphotos.count
    }

    func tableView(_ tableView: UITableView, cellForRowAt indexPath: IndexPath) -> UITableViewCell {
        iflet cell = tableView.dequeueReusableCell(withIdentifier: "PhotosTableViewCell", for: indexPath) as? PhotosTableViewCell {

            cell.selectionStyle = .none
            cell.configureCell(photo: photos[indexPath.row])
        }

        returnUITableViewCell()
    }
Now, everything is set up, we are ready to run the app for our first type to see to see how it loads:

Works perfectly. Now here is where the tutorial is going to get a little technical because what we are going to do here is to introduce a new target in here for the Users. Our course of action will be like this for the rest of the tutorial:
- Create a new target
- Update the pod file to support multiple Xcode targets
- Create flags for each target
- Updating the View Controller to run code according to the selected target
Let’s start with the step 1.
Creating a new target:
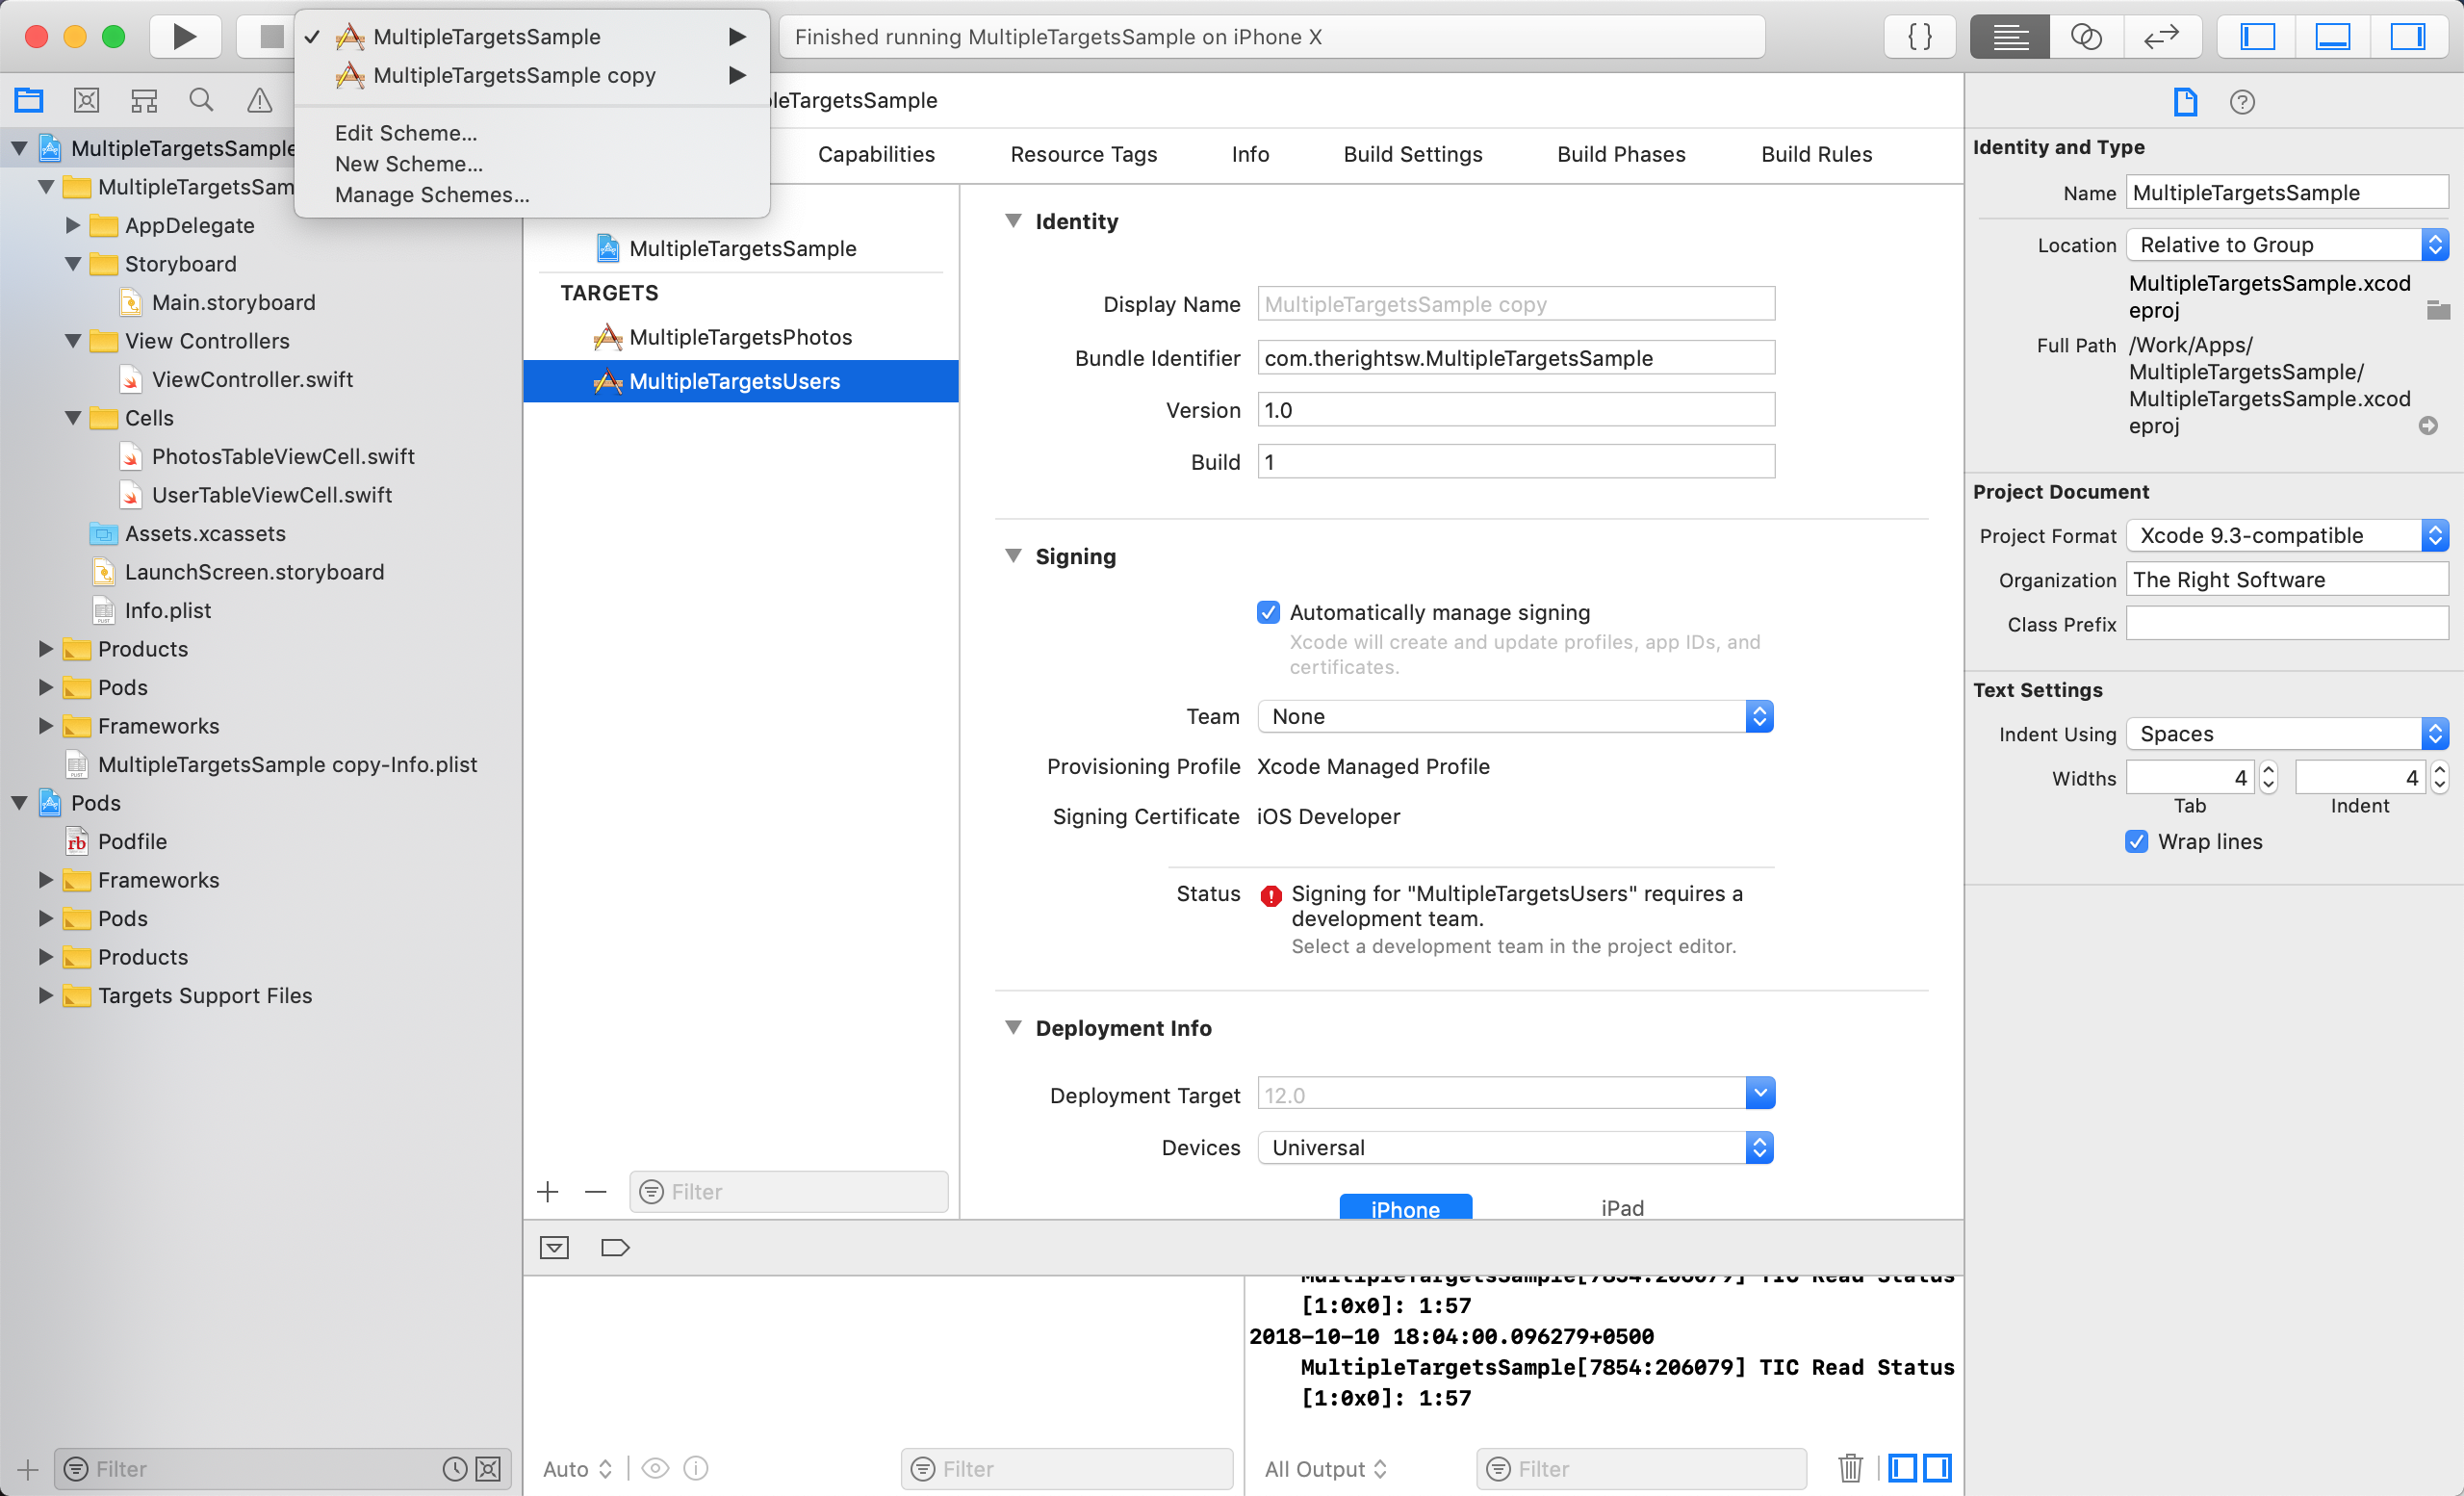
The first step is to create a new target. In order to do so, we need to duplicate the target as it is. In order to do so, go to your project’s settings, select the target, right click on it and select the duplicate option.
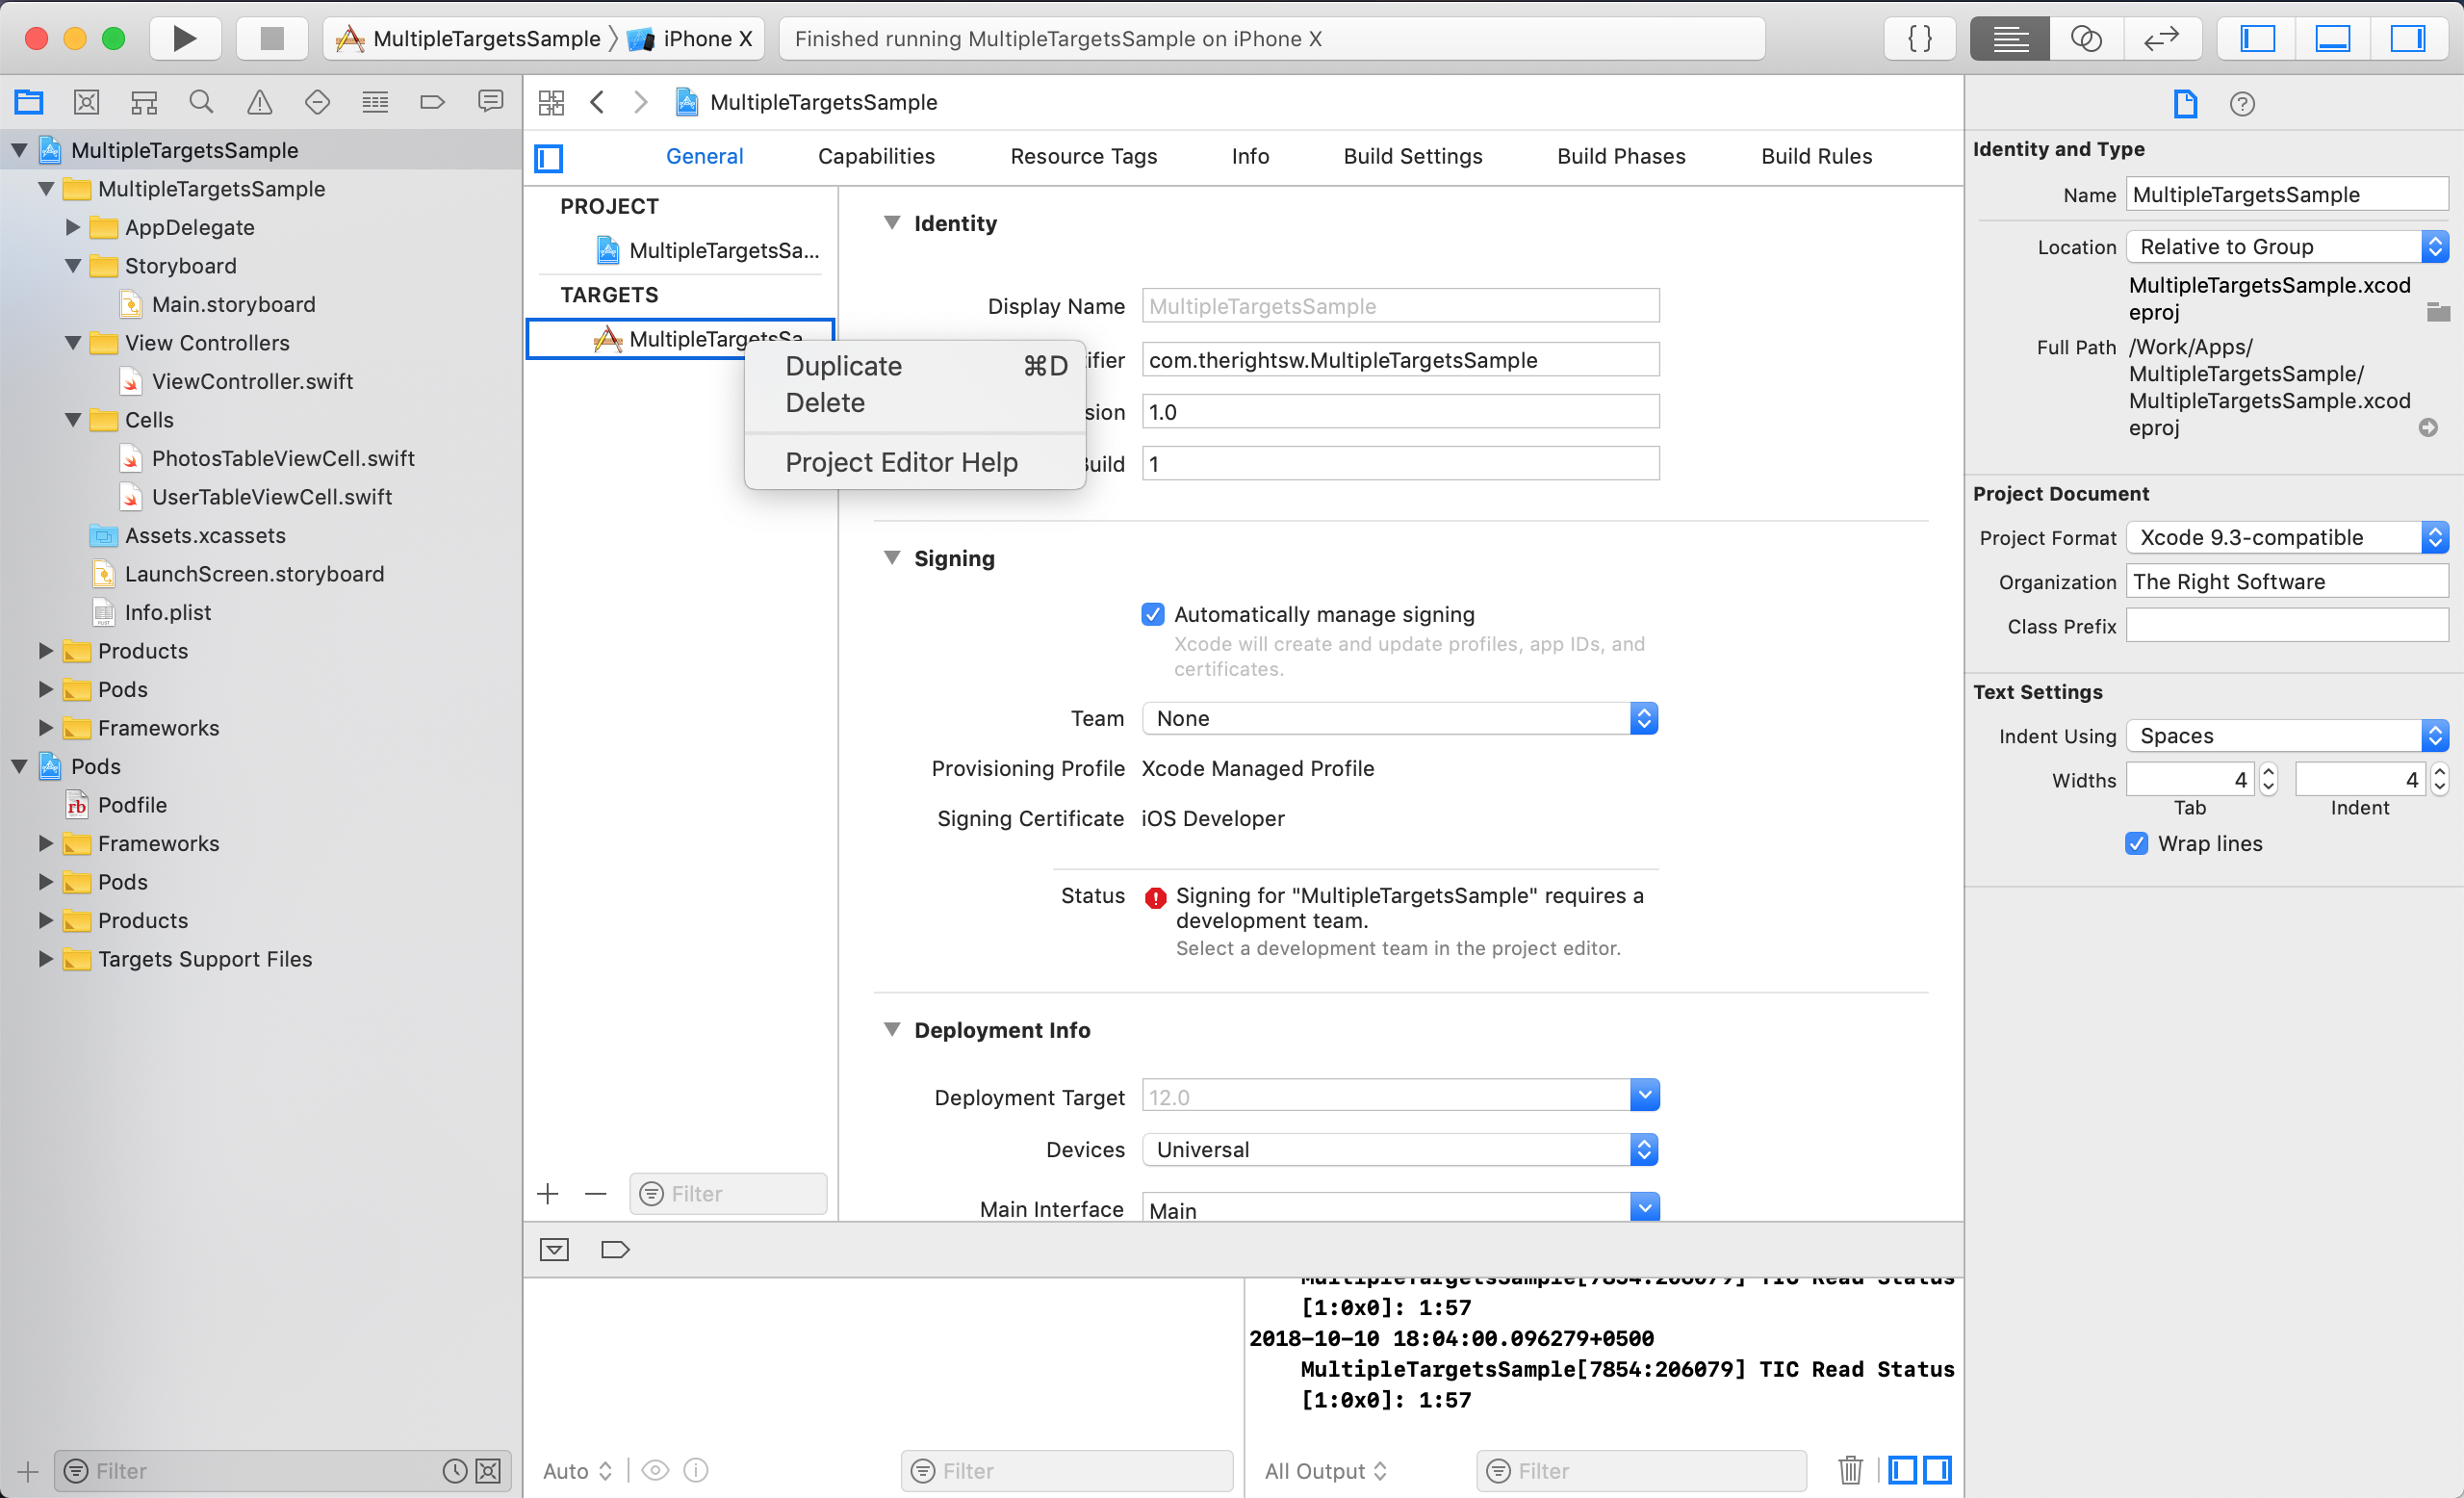
After duplication: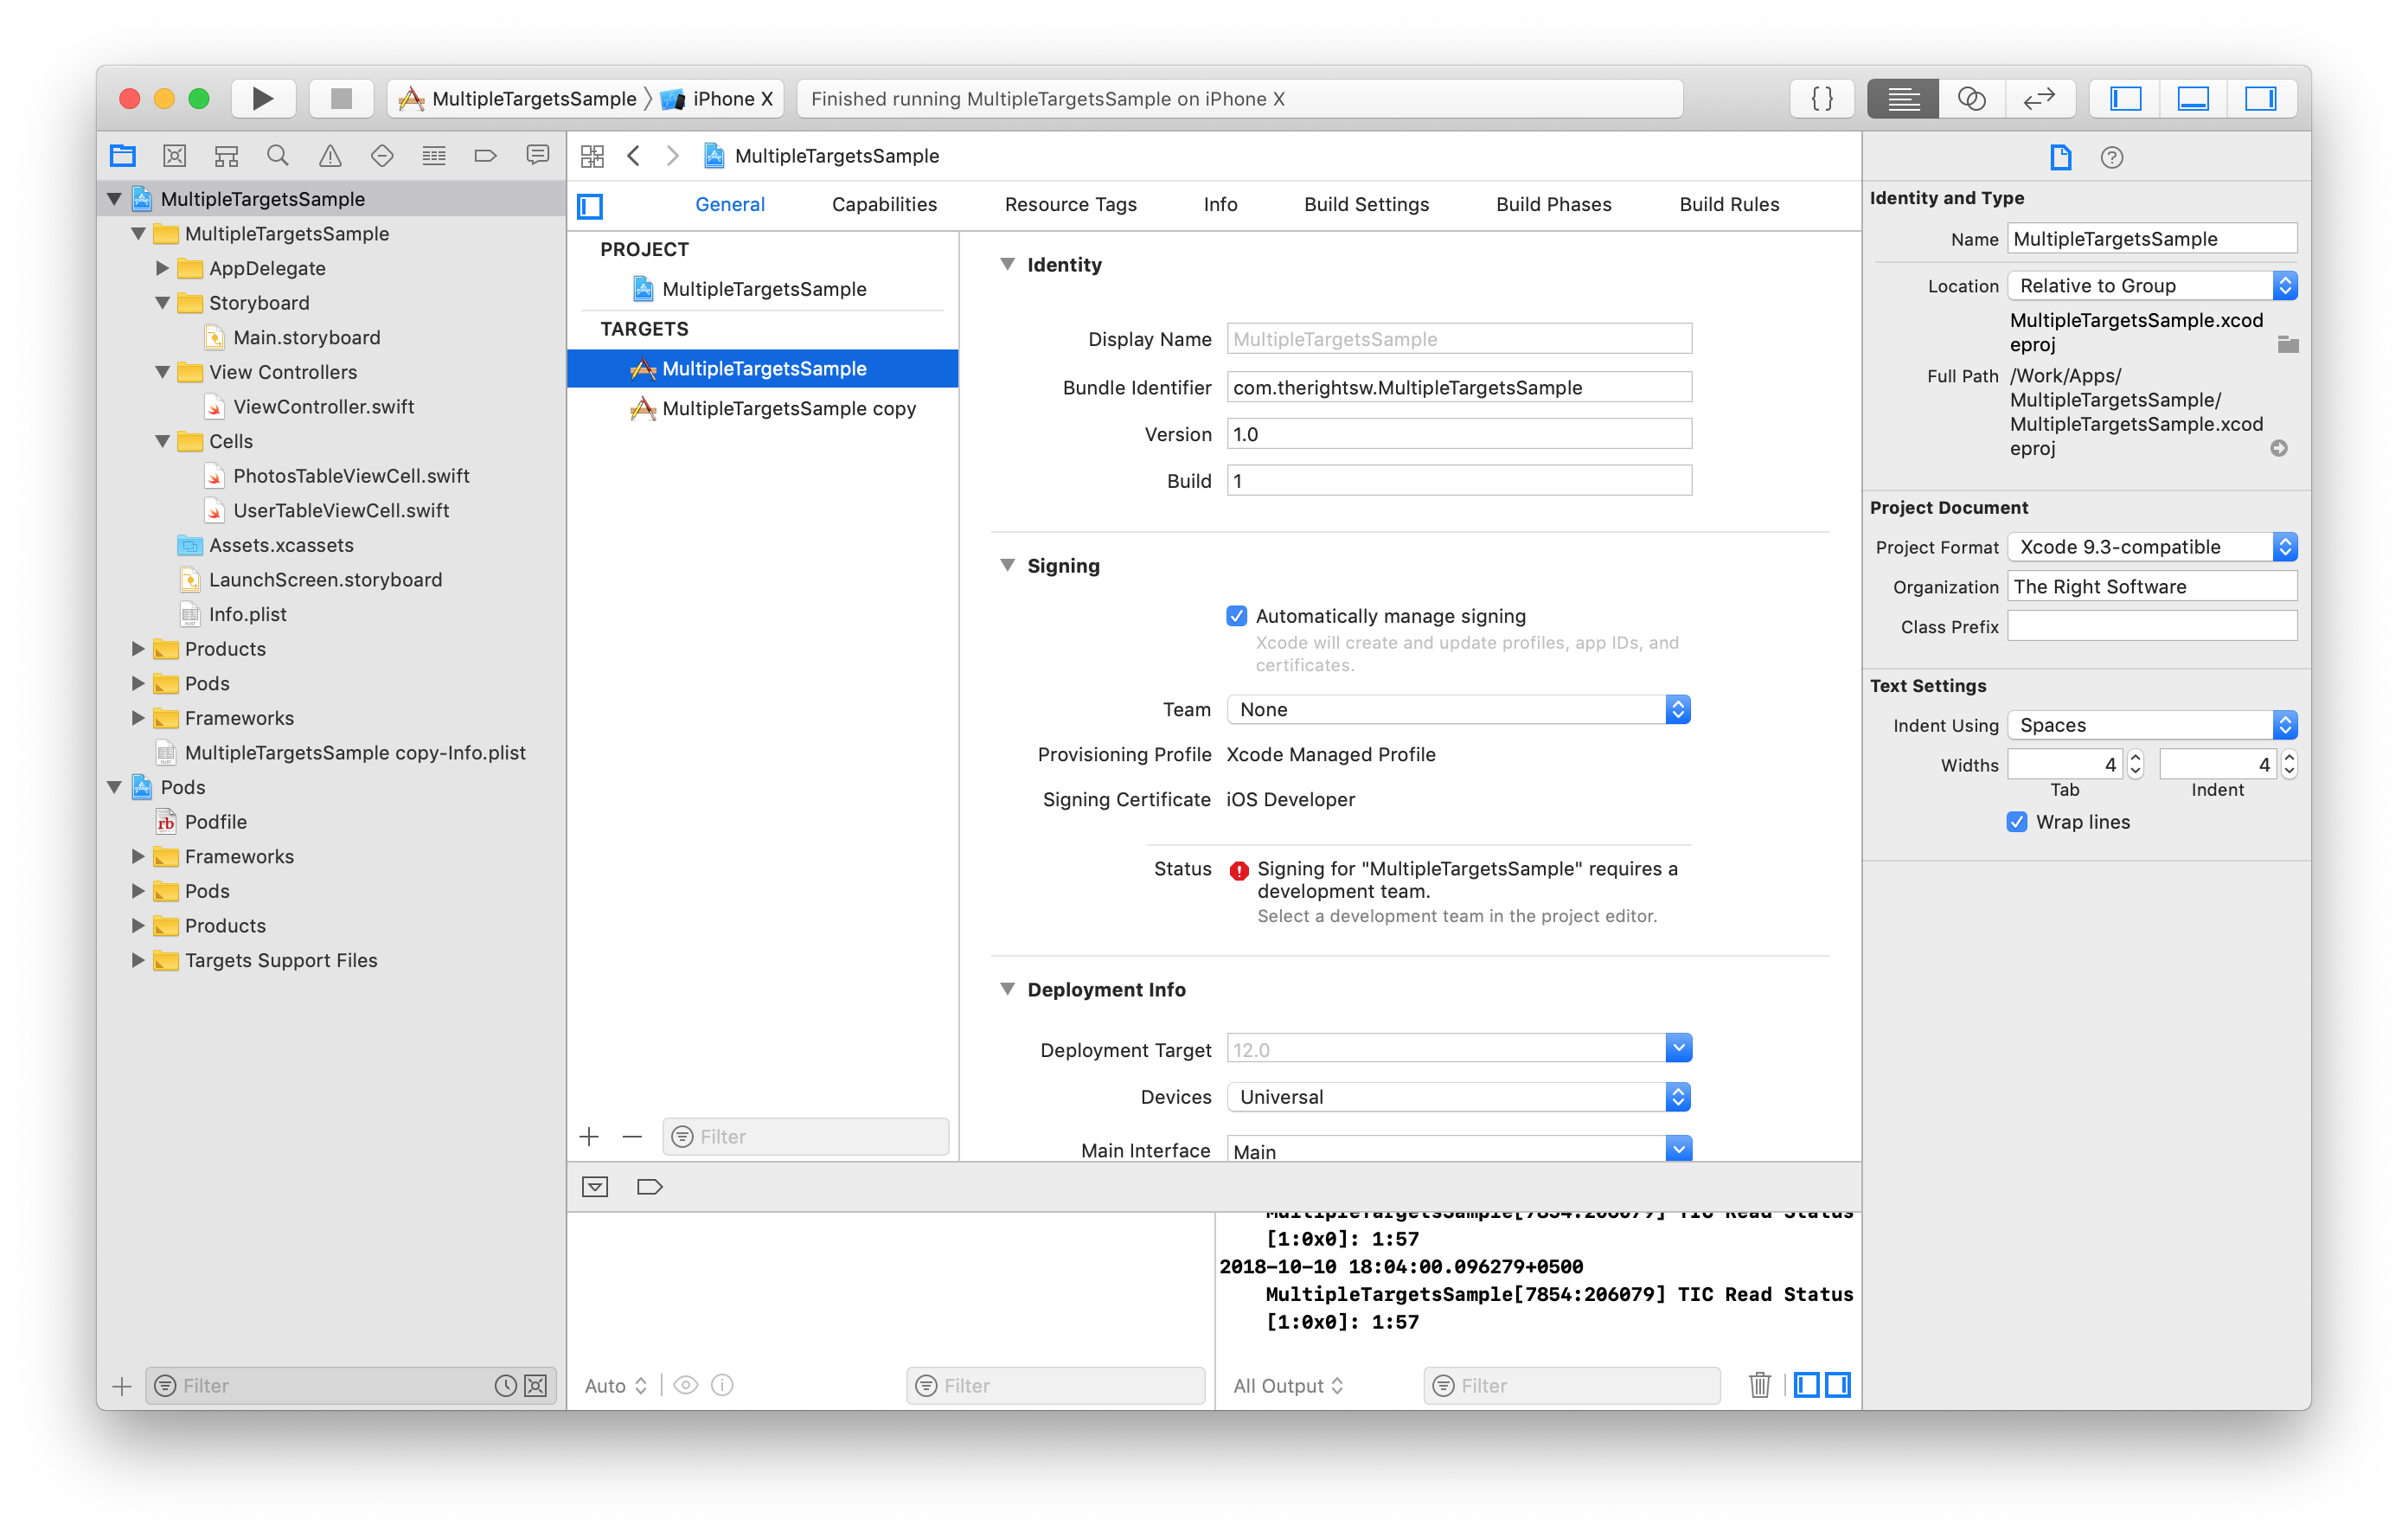
This process creates schemes for each target as well.
For the sake of convenience, let’s rename both the targets and schemes to something that we can relate to: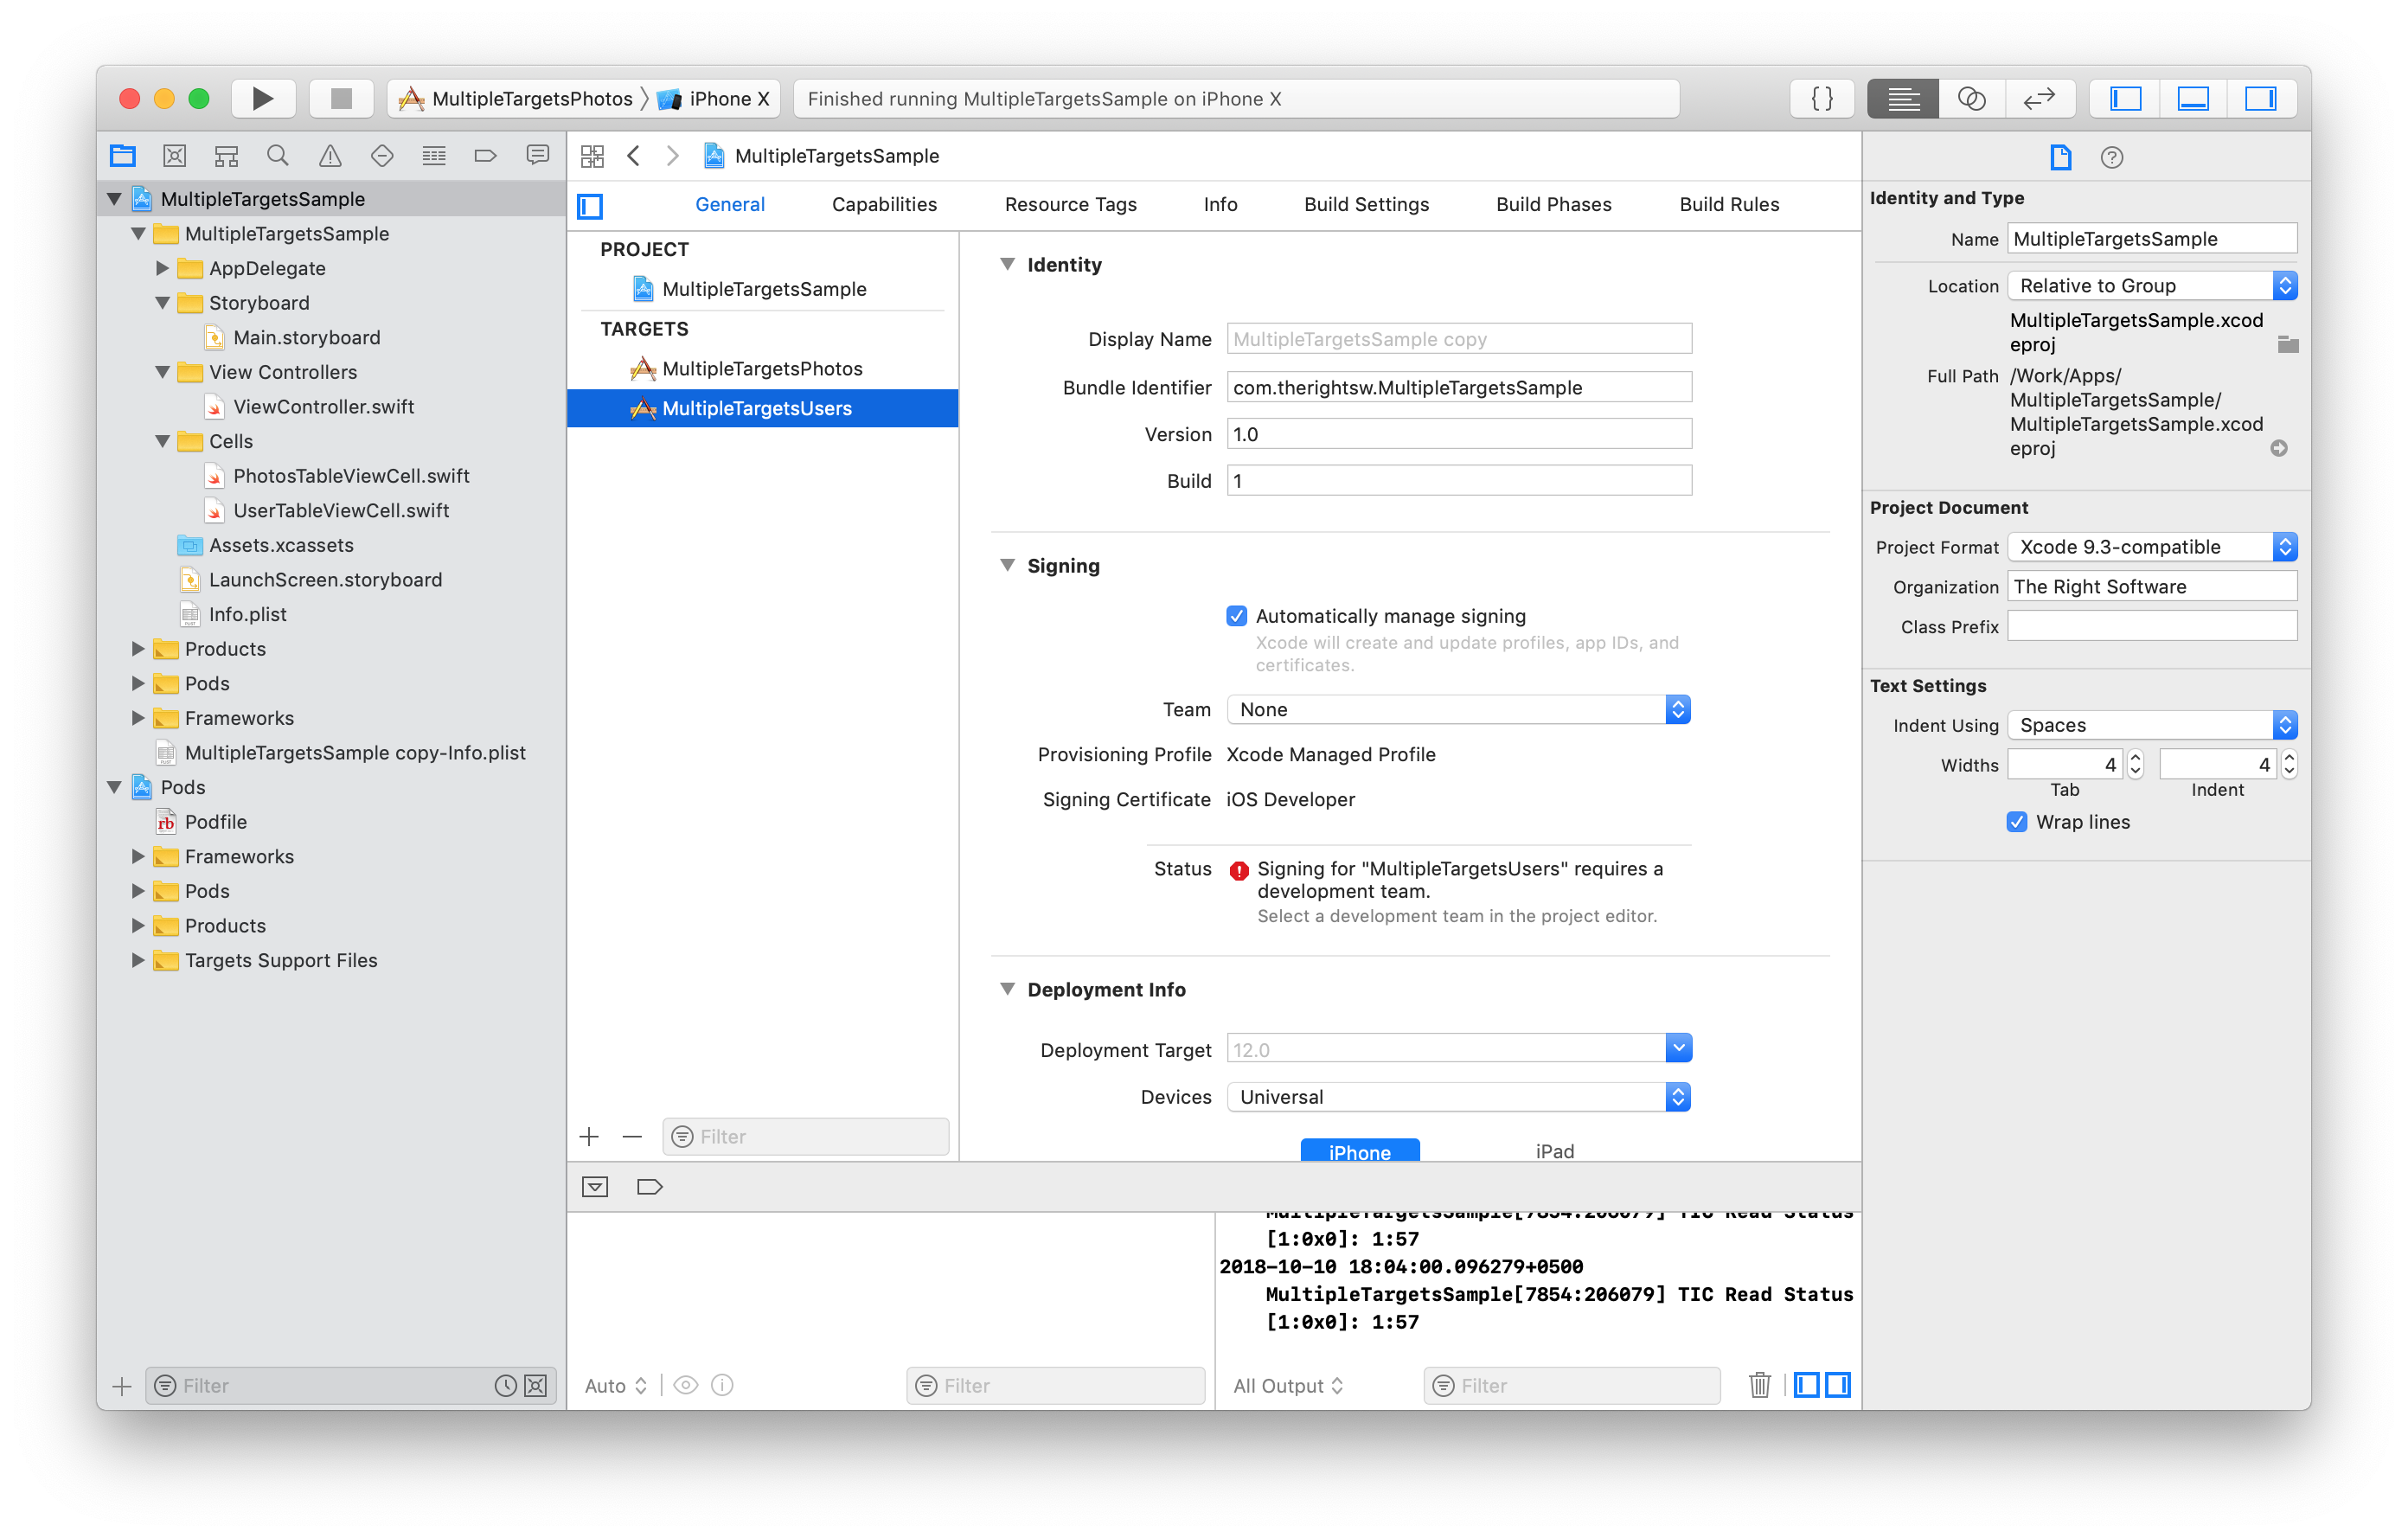
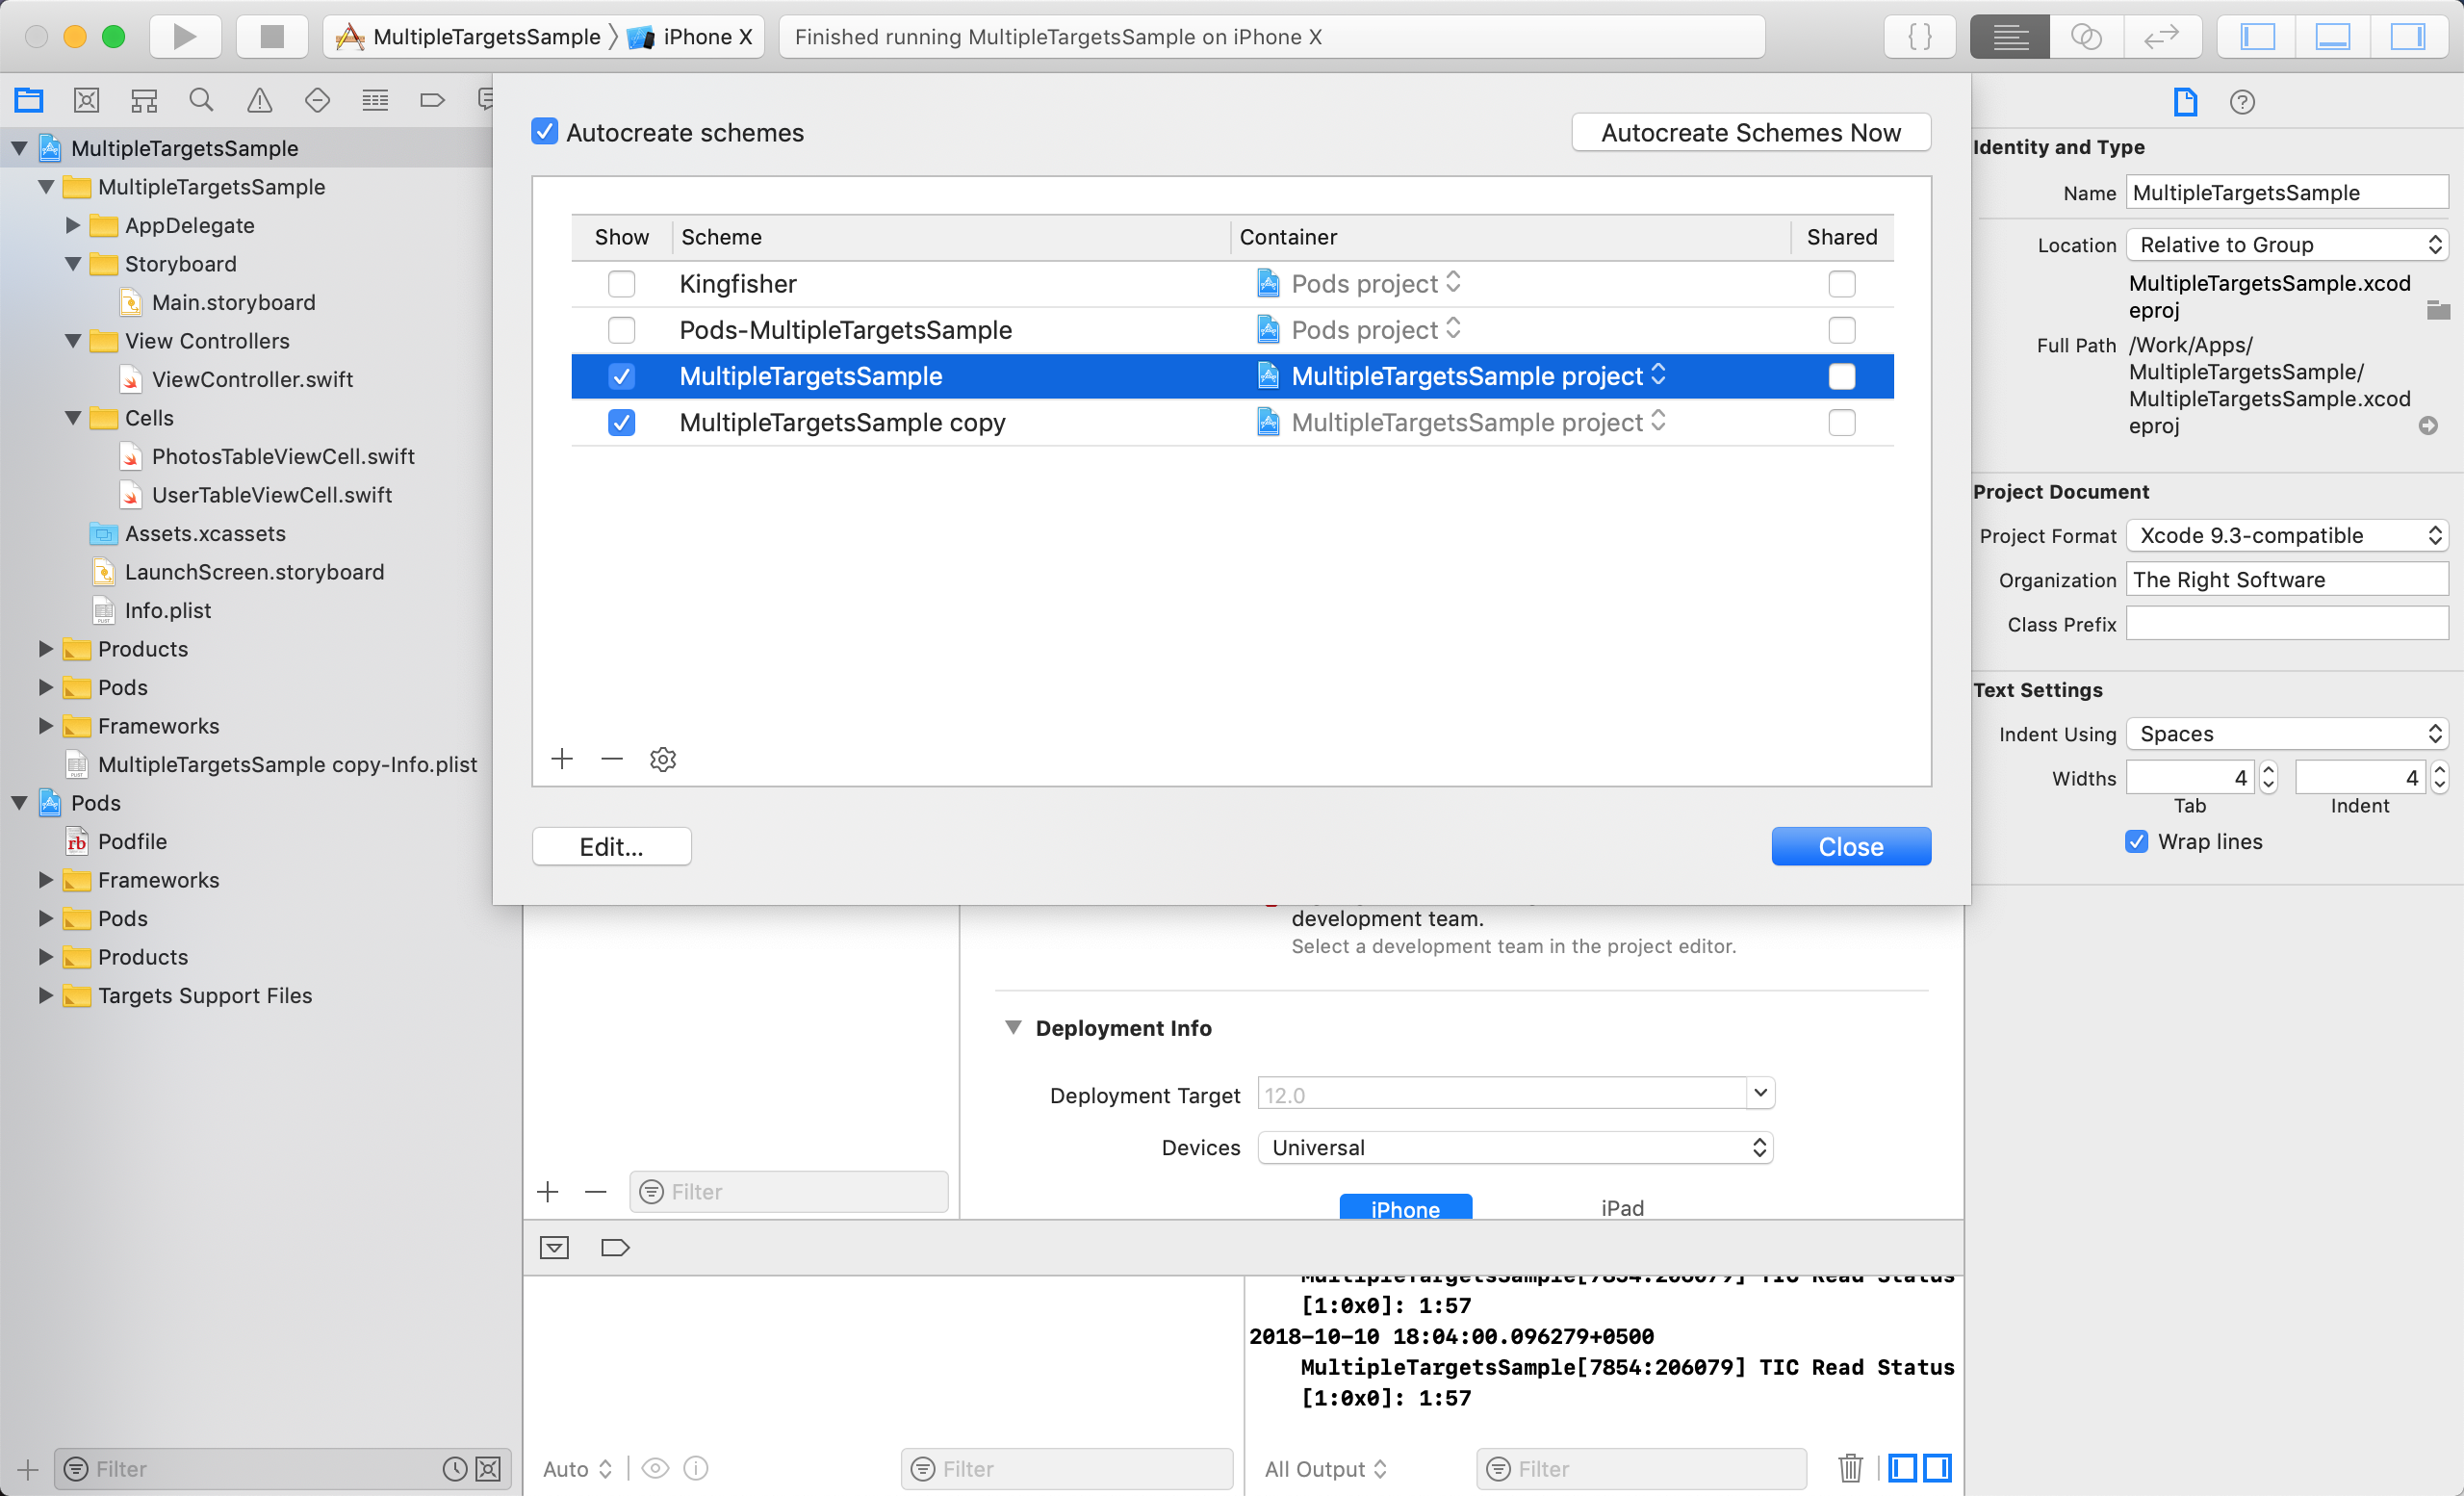
We now have created multiple Xcode targets and edited the schemes and targets to do something according to our requirements. We can now set different resources for each target or set different titles for each Xcdoe target.
Update the pod file to support multiple Xcode targets
Now that we have set up iOS multiple targets, our next step is to update the pods file so that it supports both the targets. Our existing pod file looks something like this
target 'MultipleTargetsSample' do
  # Comment the next line if you're not using Swift and don't want to use dynamic frameworks
  use_frameworks!

  # Pods for MultipleTargetsSample
pod 'Kingfisher', '~> 4.0'
end
Since pod file is actually a Ruby file, what we need to do is to create a single object and share it between the both targets. It’ll look something like this:
def sharedpods
    pod 'Kingfisher', '~> 4.0'
end

target 'MultipleTargetsPhotos' do
    sharedpods
end

target 'MultipleTargetsUsers' do
    sharedpods
end
Now, go to the Terminal back and run the pod install command again and you’ll be good to go for both of these targets.
Create flags for each target
Now that the pods are working for each target, the next step is for us to start the process of differentiating the code for each target. In the olden days, with the Objective-C, we used to do it with the Preprocessor Macros but with the Swift that part is no longer valid. What arrives as a substitute, is a compile-time attributes. In order to add this, let’s go to the Photos target -> Build Settings -> Swift Compiler – Custom Flags and add a custom flag called “-DPhotosType”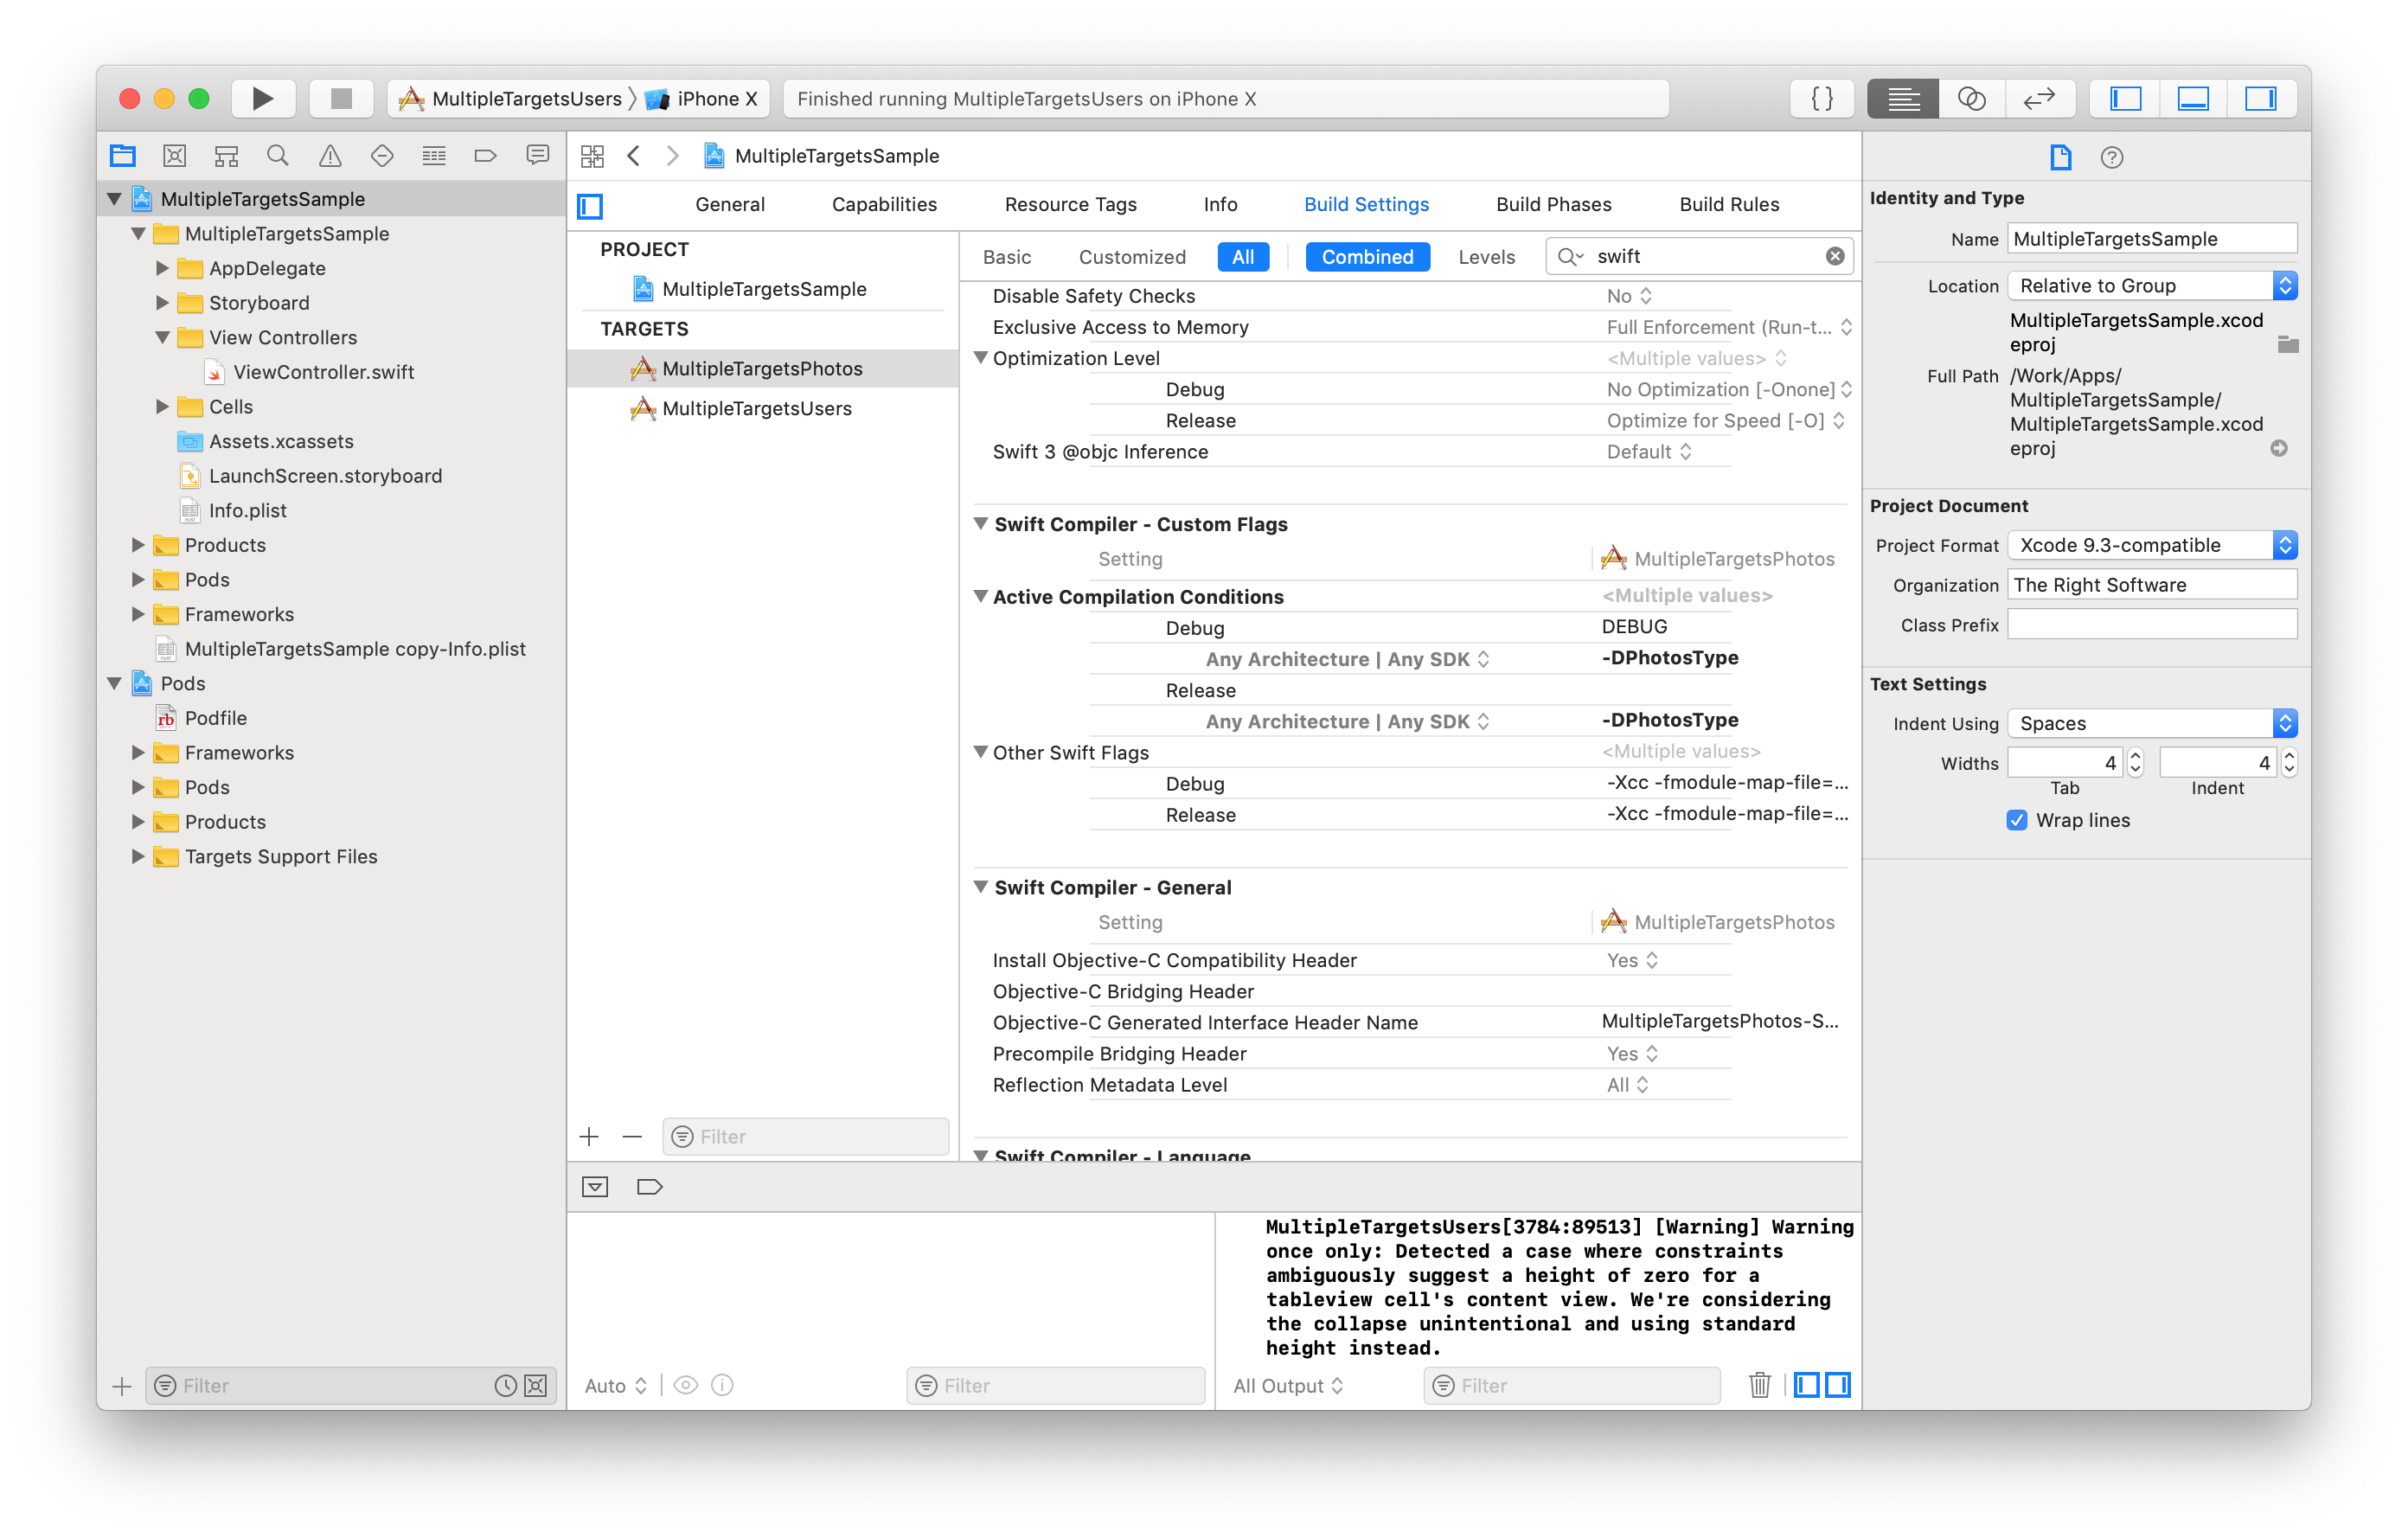 Same thing to be done on the other target as well with the flag called “-DUsersType“. Although for this tutorial we won’t need it but it is always helpful to show you how you can go through multiple variants in one code base.
Updating the View Controller
By this point we have duplicated the targets, updated the pods to share it among the multiple Xcode targets and add custom flags to the targets. Now, the last thing that we need to do is update the view controllers to update the view controller to adjust the code based on the target. In order to do so we’ll be use the #if statements. The part will have multiple small steps:
- Updating the title
- Writing the code to fetch the users from the server
- Updating the UITableViewDataSource
Let’s start with updating the title. Go to the viewDidLoad method and add the following lines to set the title:
#if PhotosType
self.title = "Photos"
#else
self.title = "Users"
#endifAll, well and done, updating the code to fetch the users. Let's start by updating the loadScreenContent method and replace it with this code:
fileprivate func loadScreenContent() {
var urlString: String!
#if PhotosType
urlString = "https://jsonplaceholder.typicode.com/photos"
#else
urlString = "https://jsonplaceholder.typicode.com/users"
#endif

if let url = URL(string: urlString) {
let request = URLRequest(url: url)
let session = URLSession.shared
let task = session.dataTask(with: request) { (data, urlResponse, error) in
if (error != nil) {
//we got error from service
//handle error here
} else {

//No error
if let jsonString = String(data: data!, encoding:String.Encoding.utf8) {
#if PhotosType
self.photos = self.getPhotosFromJsonString(jsonString: jsonString)
#else
self.users = self.getUsersFromJsonString(jsonString: jsonString)
#endif
DispatchQueue.main.async {
self.tableView.reloadData()
}
}
}
}
task.resume()
}}Now creating a model for the Users
struct Users {
    let userName: String!
}
Parsing the results from the JSON string:
fileprivate func getUsersFromJsonString(jsonString: String) -> [Users] {
        var usersToReturn = [Users]()
        do {
            let usersArray = try JSONSerialization.jsonObject(with: jsonString.data(using: String.Encoding(rawValue: String.Encoding.utf8.rawValue))!, options: .allowFragments) as! [[String:Any]]
            for userDictionay in usersArray {
                var name = ""
                if let currentUserName = userDictionay["name"] as? String {
                    name = currentUserName
                }
                let user = Users(userName: name)
                usersToReturn.append(user)
            }
        } catch  {
            //an exception has occured
        }
        return usersToReturn
    }
The only thing that remains is now updating the UITableViewDataSource to accomodate the changes for both targets now. Replace the UITableViewDataSource to this code now:
Now, let’s change the target to users to see if it works or no.
func tableView(_ tableView: UITableView, numberOfRowsInSection section: Int) -> Int {
        #if PhotosType
            return photos.count
        #else
            return users.count
        #endif
    }
    func tableView(_ tableView: UITableView, cellForRowAt indexPath: IndexPath) -> UITableViewCell {
        #if PhotosType

            if let cell = tableView.dequeueReusableCell(withIdentifier: "PhotosTableViewCell", for: indexPath) as? PhotosTableViewCell {
                cell.selectionStyle = .none
                cell.configureCell(photo: photos[indexPath.row])
                return cell
            }
        #else
            if let cell = tableView.dequeueReusableCell(withIdentifier: "UserTableViewCell", for: indexPath) as? UserTableViewCell {
                cell.selectionStyle = .none
                cell.configureCell(user: users[indexPath.row])
                return cell
            }
        #endif
        return UITableViewCell()
    }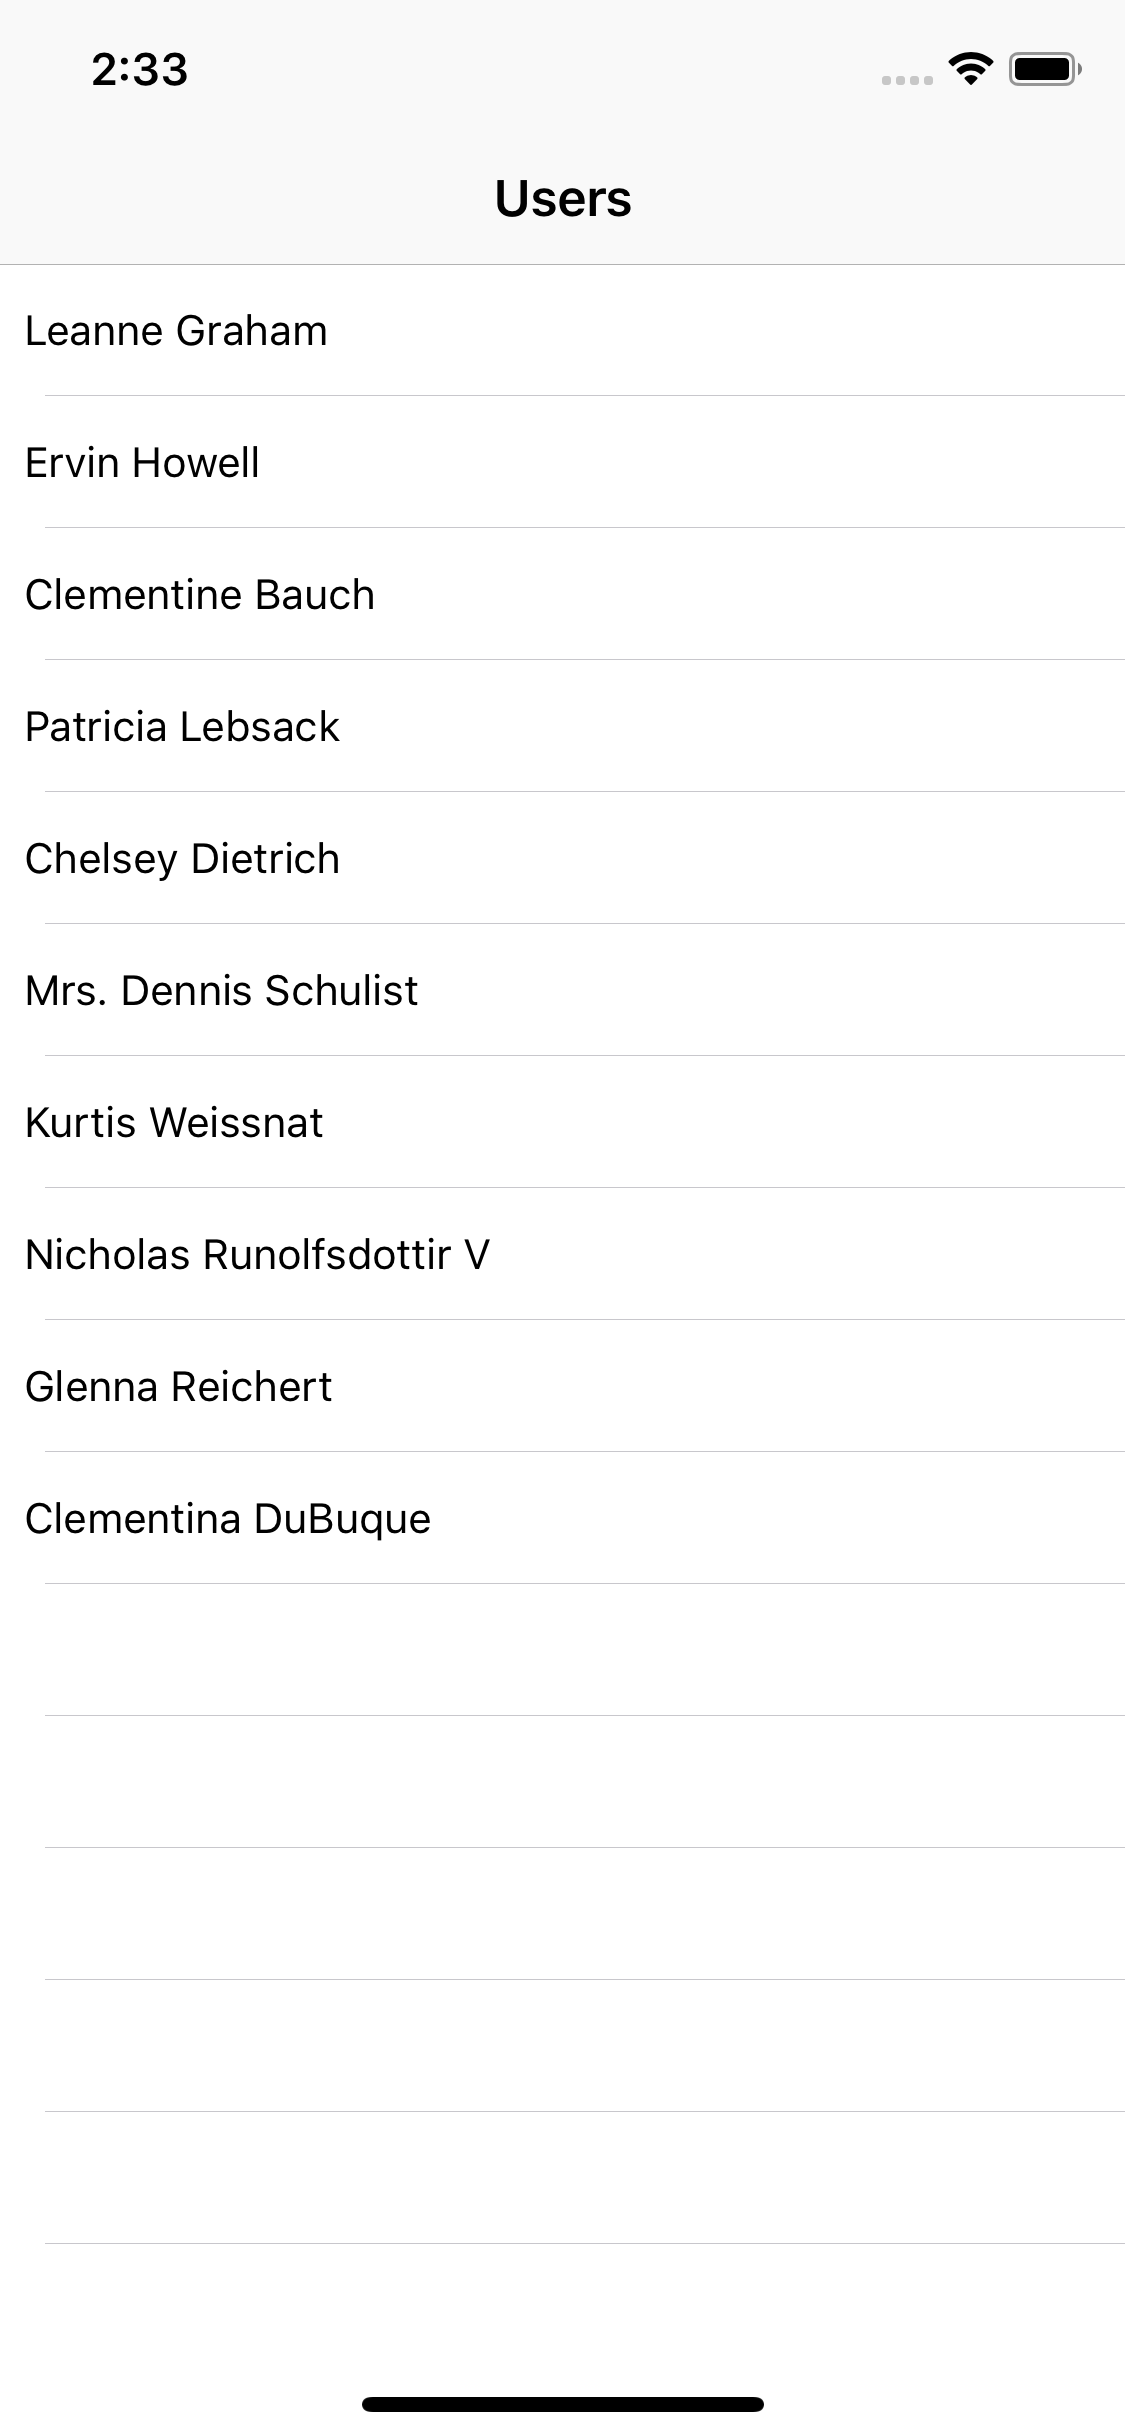
Works flawlessly!
Changing back to the photos to see if it works

Works perfectly.
So, that is how it is done. Like I said in the introduction, multiple Xcode targets with CocoaPods can be used in a lot of different ways. Running the same code for multiple apps or separating staging and production environments etc. It’s a neat trick to know. If you have any questions regarding the tutorial or the comments, send an email to [email protected] and I’ll be happy to help you out. You can also access the source code at this link. If you are interested in learning about payment gateway integration like Stripe, you can check out a nicely written tutorial over here.