In this article, we will explore one of the foundational aspects of web development – Laravel Migrations. With our expertise in Laravel web development, we aim to shed light on the significance, benefits, and practical implementation of Laravel Migrations. Join us on this journey as we delve into the world of Laravel Migrations, understand how it can enhance your web development projects, streamline your database management, maintain data integrity, and leverage data types, controllers, and database connections.
Topics Explored:
- What are Laravel Migrations?
- Why Would You Use Laravel Migrations?
- How to Implement Laravel Migrations?
- Other Migration Commands
- Best Practices and Strategies for Laravel Migrations
- Conclusion
1. What are Laravel Migrations?
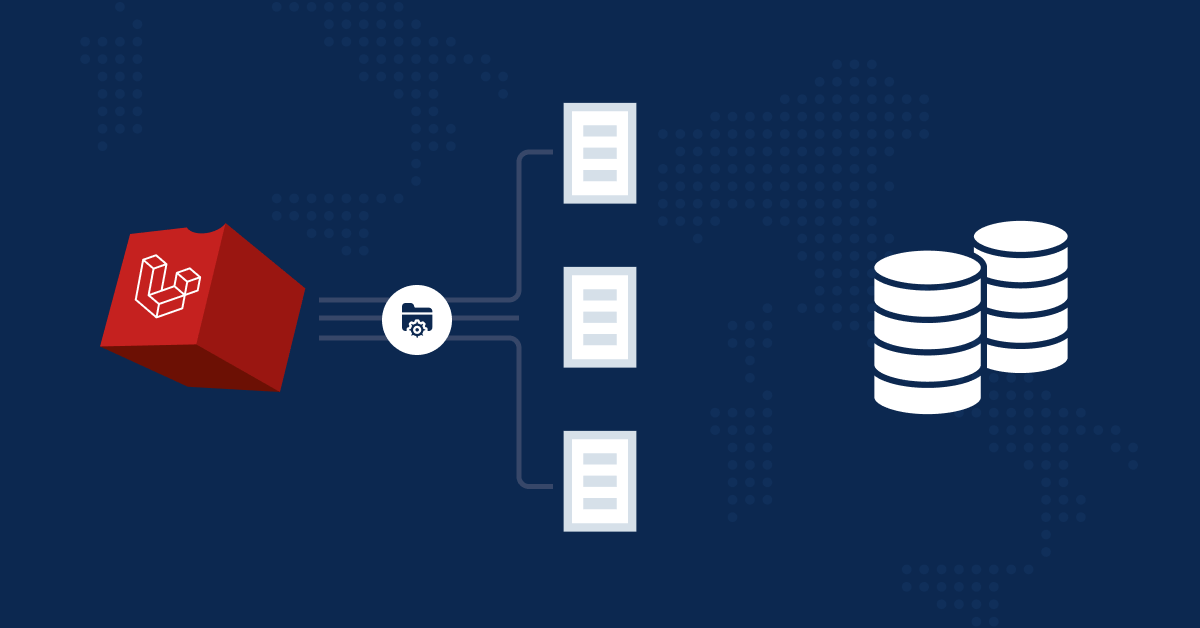
Laravel Migrations are fundamental to manage database changes in Laravel applications. They offer an organized approach to synchronize your database with your application’s codebase across various environments. Imagine your application evolving over time, requiring changes to the database structure or the addition of new tables and data types. Migrations prevent this process from becoming a manual, error-prone ordeal. Each migration file is timestamped, ensuring a clear history of changes executed in the order they were created. This simplifies tasks like rolling back to previous states or applying changes incrementally.
2. Why Would You Use Laravel Migrations?
Database Schema Management:
Version Control
Database Portability:
Rollback and Recovery:
Documentation:
Migrations serve as documentation for the database schema evolution, with each migration file containing a timestamp and a description of the changes made, improving codebase transparency and maintainability.
History and Rollback Control:
Seeding for Data Population:
Laravel also provides data seeding capabilities through seeders, often used in combination with controllers. This feature allows you to populate your database with initial data, making it a valuable complement to migrations for maintaining data integrity.
Seamless Integration with Testing:
Codebase Consistency:
Dependency Management:
Collaboration:
3. How to Implement Laravel Migration?
Step 1: Create a Migration
In Laravel, you can create a migration using the make:migration Artisan command. Open your terminal and navigate to your Laravel project directory. Then, run the following command:
php artisan make:migration create_example_table
This command will create a new migration file in the database/migrations directory with a name like 2023_09_18_000000_create_example_table.php. The timestamp in the filename ensures that migrations are executed in the order they were created.
Step 2: Define the Schema
use Illuminate\Database\Migrations\Migration;
use Illuminate\Database\Schema\Blueprint;
use Illuminate\Support\Facades\Schema;

class CreateExampleTable extends Migration
{
    public function up()
    {
        Schema::create('example', function (Blueprint $table) {
            $table->id(); // Auto-incremental primary key
            $table->string('name'); // A string column
            $table->text('description')->nullable(); // A text column (nullable)
            $table->timestamps(); // Created_at and updated_at timestamps
        });
    }

    public function down()
    {
        Schema::dropIfExists('example');
        }}
Step 3: Adding Columns in Table
php artisan make:migration add_new_column_to_example_table --table=example
Open the newly created migration file
(e.g., 2023_09_18_123456_add_new_column_to_example_table.php) and modify the up and down methods as follows:
Step 4: Running the Migration
php artisan migrate

4. Other Migration Commands
Adding To Index:
use Illuminate\Database\Schema\Blueprint;
use Illuminate\Support\Facades\Schema;

Schema::table('users', function (Blueprint $table) {
    $table->index('email');
}
Renaming Index:
renameIndex():
$table->renameIndex('email', 'mobile_no');
}
Removing Index:
dropIndex():
$table->dropIndex('email');
}
Using Foreign Key Constraints:
 {$table->foreignId('id')
      constrained('users')
      cascadeOnUpdate()
      cascadeOnDelete();}
5. Best Practices and Strategies for Laravel Migration
Keep Migrations Small and Specific:
Document Your Changes:
Testing Migrations:
Rollback Plan:
Leverage Version Control:
6. Conclusion
In conclusion, Laravel Migration is a powerful tool that can significantly enhance your web development projects. It simplifies database management, provides version control, and offers flexibility to switch between database systems while effectively managing data types, controllers, and connections. By following best practices and strategies, you can ensure that your migrations are efficient, well-documented, and reliable.
At The Right Software, we understand the importance of database migration and its role in modern businesses. We are here to help you navigate the complexities of Laravel Migration and achieve your web development goals. If you require expert assistance, consider partnering with us to make the most of this essential web development tool. If you find out any difficulty regarding migrations, Just fill the form below we are here to consult you!
Frequently Asked Questions (FAQs)
Why should I use Laravel Migrations?
Can I roll back Laravel migrations?
php artisan migrate:rollback.
Is it possible to run Laravel migrations in a testing environment?
Yes, it is possible to run Laravel migrations in a testing environment using the command specifying the testing environment:
php artisan migrate --env=testing
Can I modify existing columns in Laravel migrations?
Thank you for joining us on this exploration of Laravel Migration. We hope this article has provided you with valuable insights and knowledge to enhance your web development projects. If you have any further questions or require expert assistance, feel free to reach out to us at The Right Software.