Advanced Installer is a Windows Installer tool, that offers a friendly Graphical User Interface for creating and maintaining installation packages (EXE, MSI, etc.) based on the Windows Installer technology.
We came across a task of creating a TOMCAT WEB APPLICATION using Advanced Installer. Even after Googling for tutorials for this process, we were unable to find a proper solution. Although we did manage to make the installer Tomcat Web Application Advanced Installer exe file for our project, The Right Software team thought it appropriate to share the knowledge with general web.
Here is the complete tutorial of creating Tomcat Web Application Advanced Installer exe file.

 Use the [Add Folder] toolbar button and add the Tomcat distribution folder to your project.
After adding the tomcat binary folder go through the process again and add Java Development Kit in your project, because JDK is the prerequisite of Tomcat. If you have installed it in your machine you can specify that path or else you need to add JDK in Perquisite Feature List.
Use the [Add Folder] toolbar button and add the Tomcat distribution folder to your project.
After adding the tomcat binary folder go through the process again and add Java Development Kit in your project, because JDK is the prerequisite of Tomcat. If you have installed it in your machine you can specify that path or else you need to add JDK in Perquisite Feature List.

 Go to Prerequisites page and add our Java SE Runtime Environment predefined prerequisite to your project.
 Go to Environment page.
 Use the [New Variable] toolbar button to add the CATALINA_HOME system variable. Right click on the value field of the New Environment Variable dialog and choose the Folder… context menu option. Next choose the Tomcat folder added in Files and Folders page and click the [OK] button. Follow the same step for JAVA_HOME if you have added JDK in you project.
 Go to Custom Actions page and use several Launch file custom actions configured to install and start the Tomcat service during installation, respectively to delete the Tomcat service on uninstall.
Download Tomcat Binary
First thing is to download Apache Tomcat web server binary distribution resources for Windows from http://tomcat.apache.org. After that, extract the downloaded binary distribution and add your war file under webapps folder of Tomcat.Create Tomcat Web Application Project:
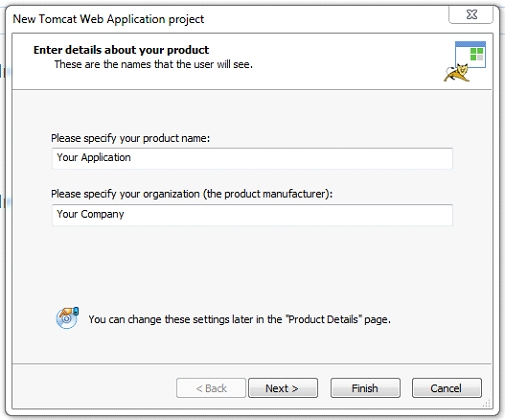
Launch the Advanced Installer, you will be presented with a screen where you can choose the type of the project you want to create. Select JAVA / Tomcat Web Application and hit Create Project. After that a popup screen will display for basic configuration of your project.Set Project Name
In this step, you need to provide a project and company name.
Select Distribution Type
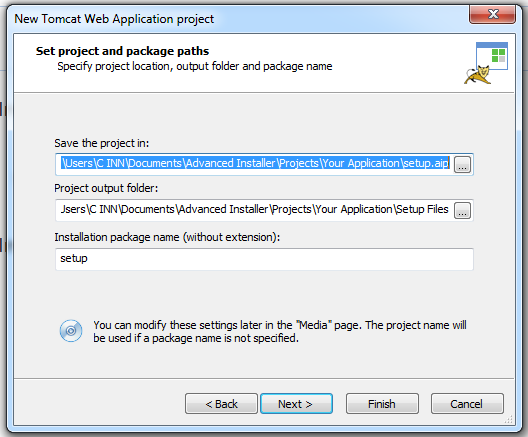
Select the distribution type e.g. EXE, MSI or a Web Installer.Set Project Path
Set the path of your project like shown below. This is local Windows path not the path where it will install. That path will be selectable to the end-user when running this installer.
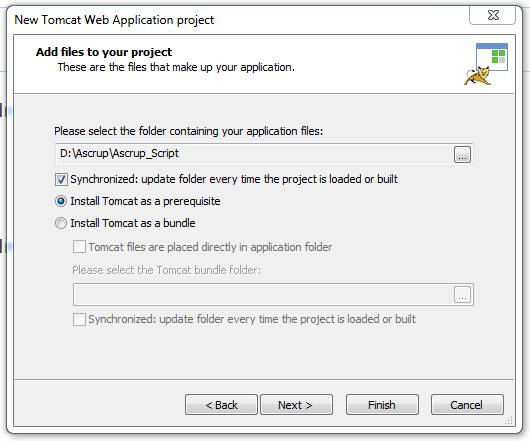
Add Project Files and Folders
In this step, select an empty folder and add tomcat distribution. The main purpose of selecting an empty folder is to add custom script files i.e. like to create a database or to clean up a batch script. Select radio button Install Tomcat as a prerequisite and hit Next.
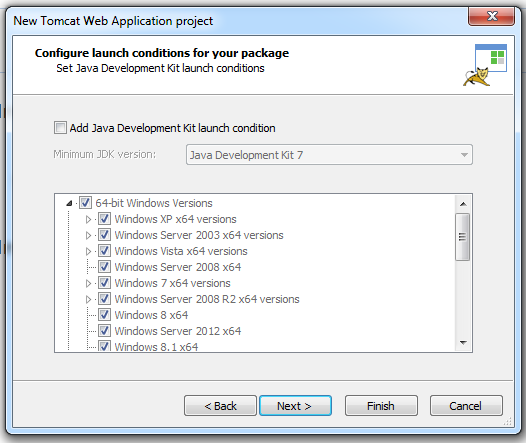
Any Launch Condition
Uncheck the Add Java development kit launch configuration and hit Next.
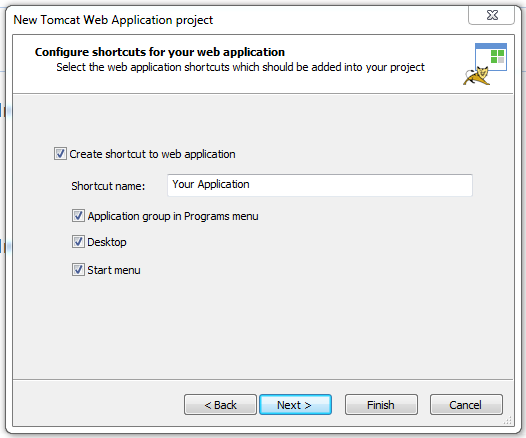
Set Allowed Shortcuts
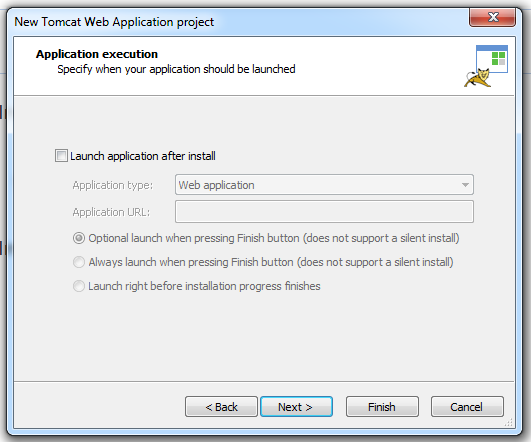
Set Application Execution
When creating a web application, provide the absolute URL of your application so that after installation and configuration application gets launched automatically.
Configure Installater UI
Now you will select the design of installer UI such as color scheme. Installer allow you to select from predefined UIs.
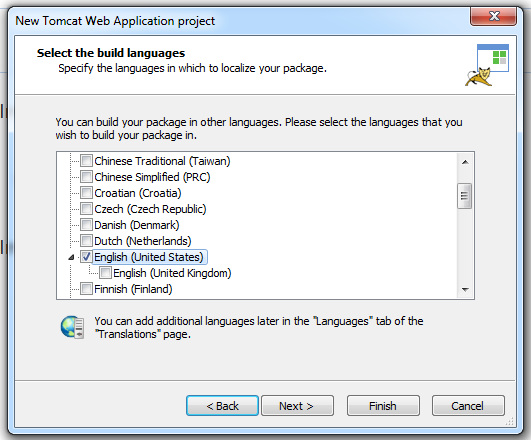
Set Installer Language
In this step, you can select multiple languages of your installer.
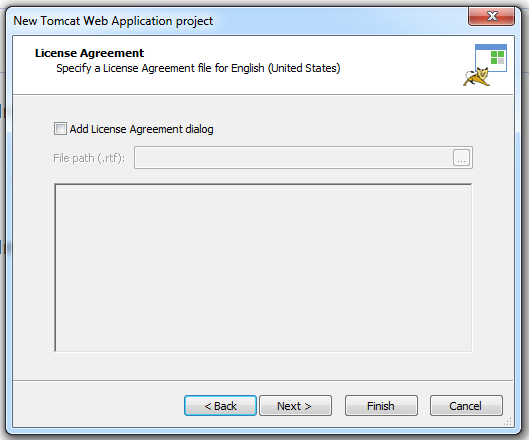
License agreement
Now if you want to add any license certificate, you can add it as well. This is beyond the scope of this tutorial and is skipped.
Build Project
Last step of basic configuration, check Build Project and hit Finish.Add Project Data
Right, now your installer is ready but empty. Further steps below outline how we will add our actual project files into the installer.Add Project Files
Select Files and Folders page from the Resources menu on the left pane.
Add Java Runtime Environment
Set Environment Variable
Configure Tomcat Service:
Install Service:
Add a Launch file custom action with sequence which will launch the service.bat installation file with the install command.Key Points:
- Execution Time: When System is being modified (deferred).
- Execution Option: Check all options.
- Execution Stage Condition: Check only INSTALL check box.
Uninstall Service:
Add a Launch file custom action with sequence which will launch the tomcat8.exe installation file with the //DS//Tomcat8 command. This custom action, uninstalls the installed service at installation time when something goes wrong the installation is rolled back.Key Points:
- Execution Time: When System is being modified (deferred).
- Execution Option: Check all options.
- Execution Stage Condition: Check only INSTALL, UNINSTALL check box.
Key Points:
- Execution Time: After the system has been successfully modified (deployed).
- Execution Option: Check all options.
- Execution Stage Condition: Check only INSTALL check box.
Key Points:
- Execution Time: When System is being modified (deferred).
- Execution Option: Check all options.
- Execution Stage Condition: Check only INSTALL check box.
Create a Launch file
Go to Custom Actions page, click on New Custom Action.- Select Open another kind of file hit Next.
- Select A file installed by this package hit Next.
- Select the file which you have added in the project in Add Files and Folder process.